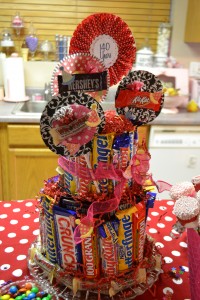
Here is the how to for the candy bar cake. Your gonna die at how easy this is to make!!
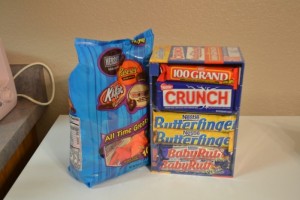
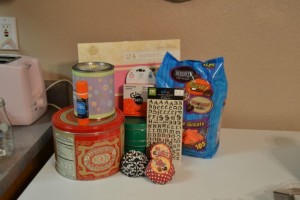
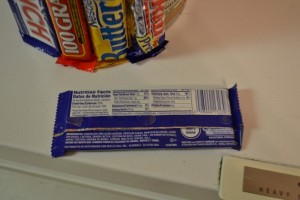
Heres your supplies!
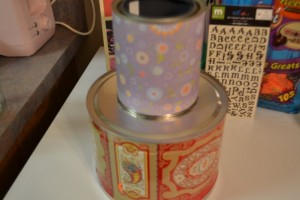
I also used some red basket filler for the top and around the edges, you can use anything you like but the idea is to cover the top and anything that is still visible after putting the candy on. I found to metal tins at the thrift store for my “cake tiers”. This took me some time to find just the right tins to get the look I wanted!! You can use any size or shape you like!!
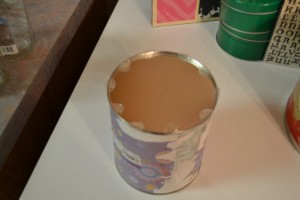
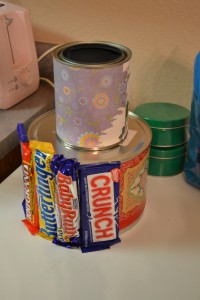
I used A LOT of glue dots but I love them!! No burnt fingers!!! I started by putting the glue dots on the bottom of the top tier. I put the tin on top of the “bottom” of the first layer. This left the top tin open so it could be filled. More on that later.
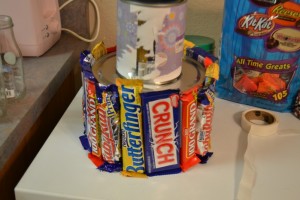
I then began “gluing” the candy bars to the side of the tin. I worked all the way around until the tin was completly covered. You might have to “squeeze” the candy bars to get them to fit around the tin.
When the bottom was covered I duplicated the same process on the top tier!
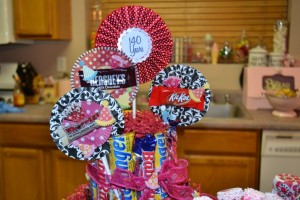
I filled the top tin with styrofoam and then covered it with the red basket filler. I was able to use the styrofoam to secure the topper. I just pushed it into the foam where I liked it.
I embellished the cake with the mini candies and ribbon and scrapbook embellishments. Again I ussed the glue dots to secure everything down!!
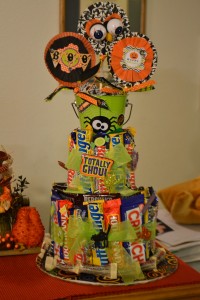
I kept the base of the cake in tact and took all the “birthday” decor off and then did this to it!!!!
It is now a Halloween Candy Bar Cake!!!! Yup my candy bar cake is now re-purposed and sits on my faux Fireplace with my other Halloween goodies!!!
I am linking up here!!
