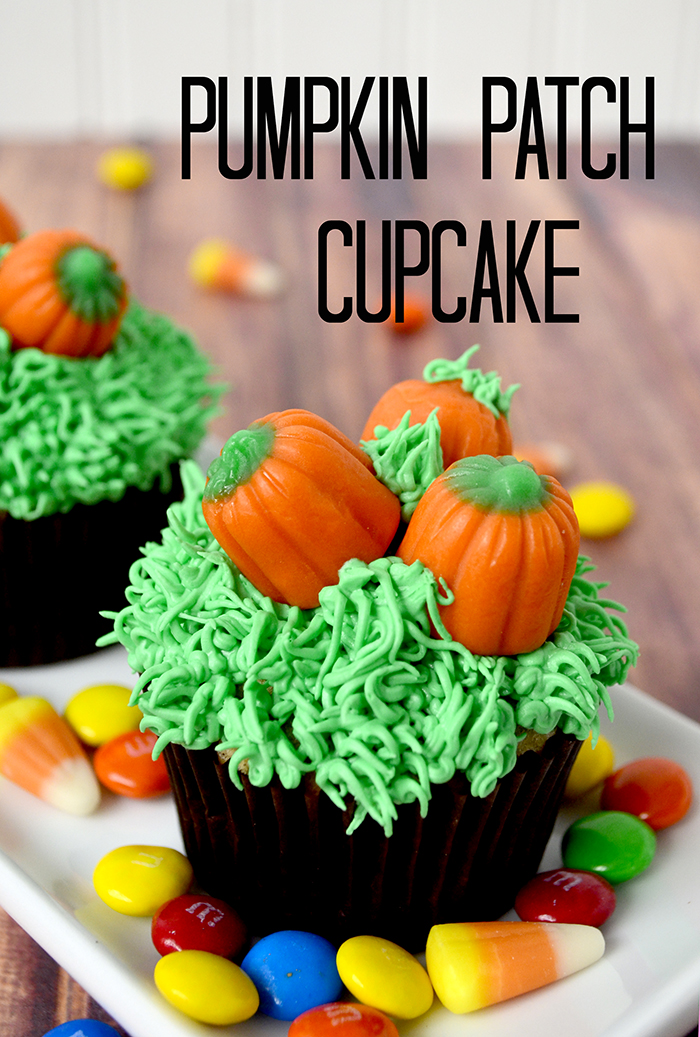
This week is going to be a crazy week. We are heading into the crucial days before Blended Conference! Last year I taught some basic cupcake decorating skills! I was invited back to share some more detailed cupcake decorating tutorials. So today I have the first of three cupcake decorating tutorials. These Pumpkin Patch Cupcakes are super cute and super easy to make.
I am not sharing any recipes with these tutorials they are just the decorating steps to achieve the look! Use your favorite cake and icing recipes!
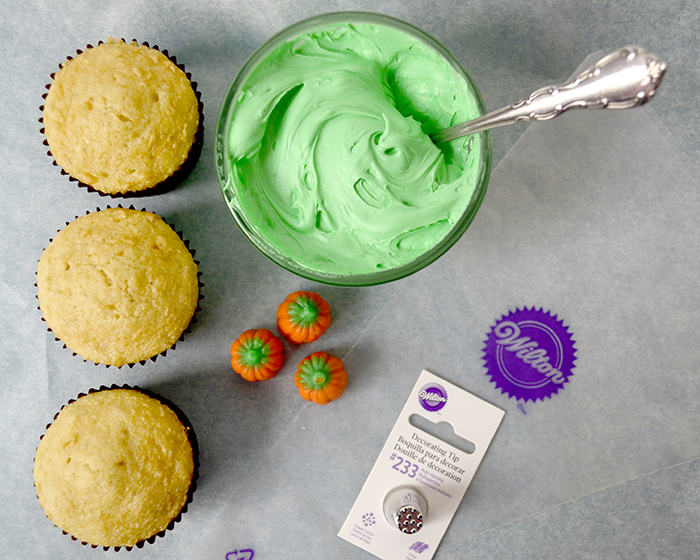
Here are the supplies you will need to decorate your cupcakes.
- Baked Cupcakes
- Green frosting
- 3 candy Pumpkins per cupcake
- 1-12″ Wilton Disposable Decorating Bag
- Wilton Decorating Tip #233
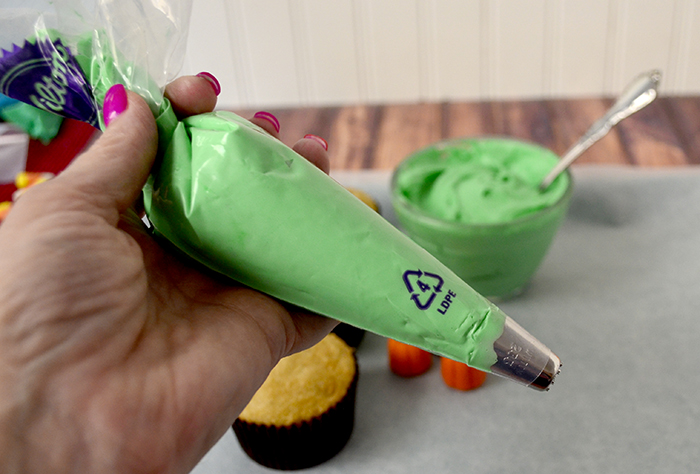
Fill your 12″ Wilton Disposable Decorating Bag with green frosting that has been fitted with the #233 decorating tip.
 There is a bit of a learning curve with the#233 decorating tip so do some trials until you feel comfortable with the tip. The trick is to place the tip onto the work surface pushing down a bit and while squeezing the frosting gently raise the tip to the desired length and then release the pressure from the bag and pull up. So basically its push down, squeeze frosting, pull up, stop squeezing, pull up again. LOL! Or at least that’s what works for me!
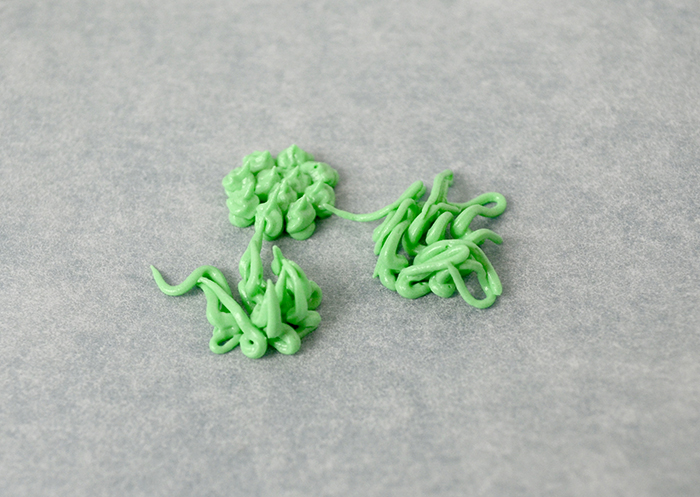 I like to start in the middle of the cupcake and work around until the top of the cupcake is covered with what looks like grass. If there is a spot you don’t like just do another patch of grass over it!
Once you have covered the top of your cupcake with grass, place the 3 candy pumpkins on top pushing into the grass.
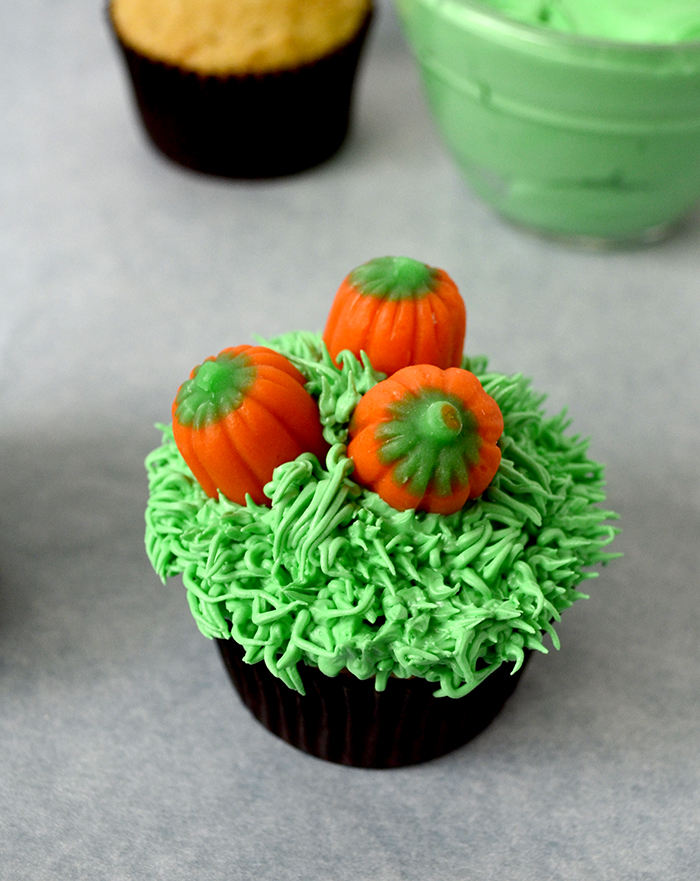 Then fill in the gaps around the pumpkins with more grass. I even put some on the top of one of the pumpkins.
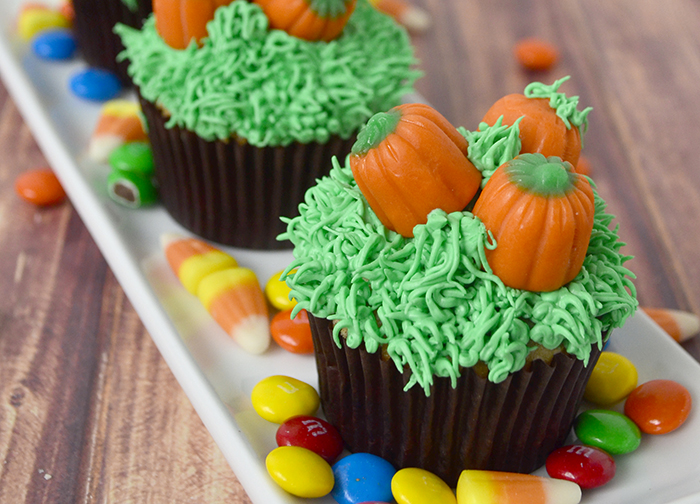 And there you have it super cute Pumpkin Patch Cupcakes!! These are so easy and they are so cute everyone will love them!!
