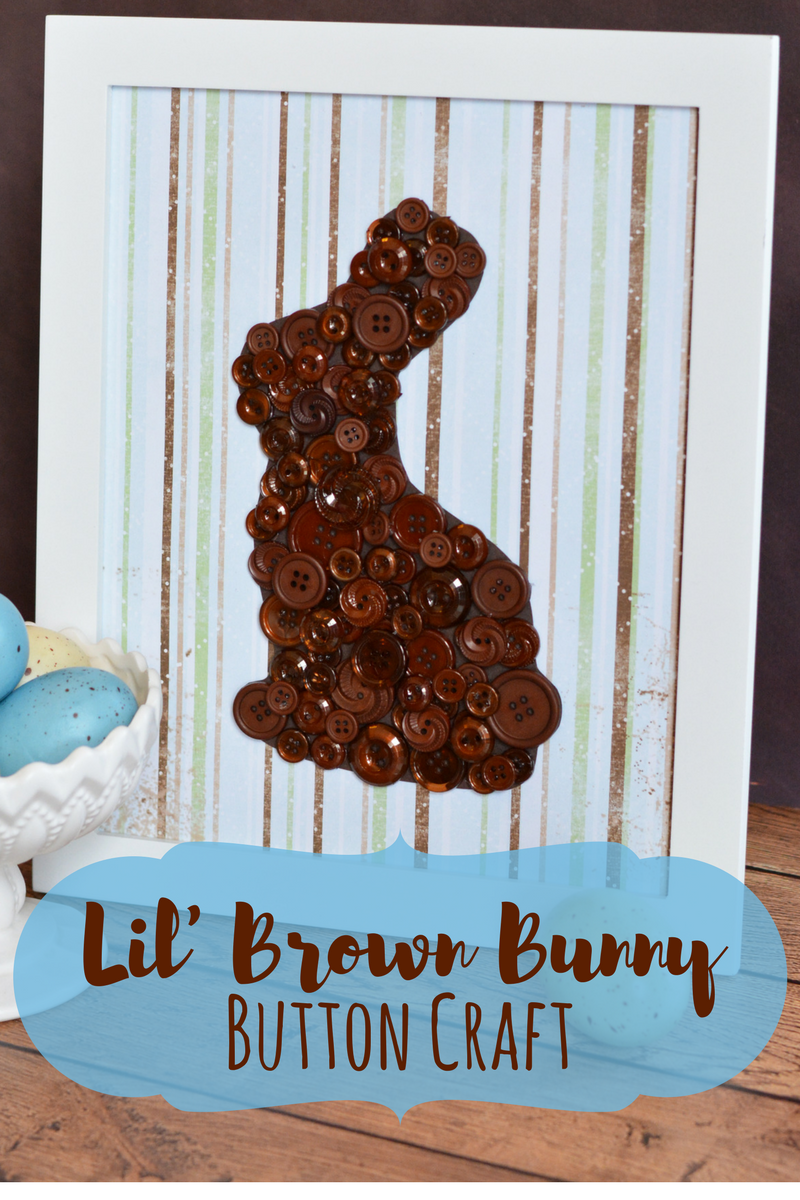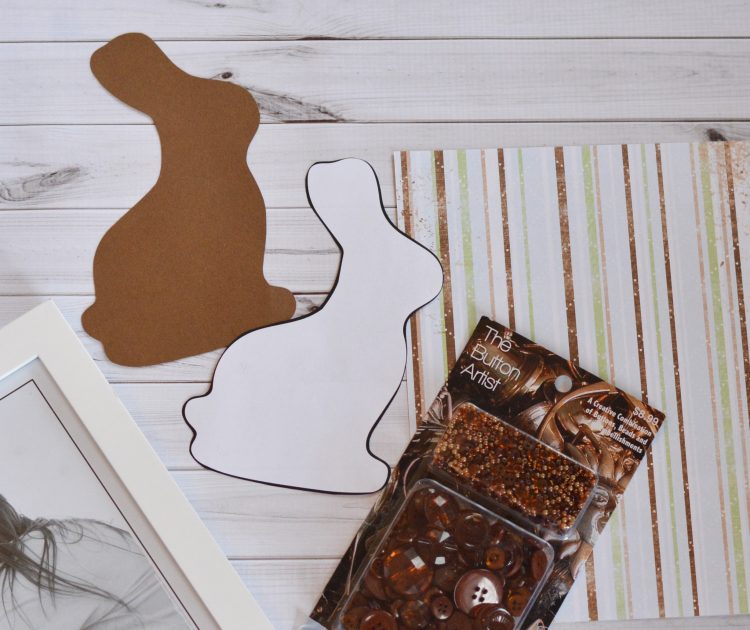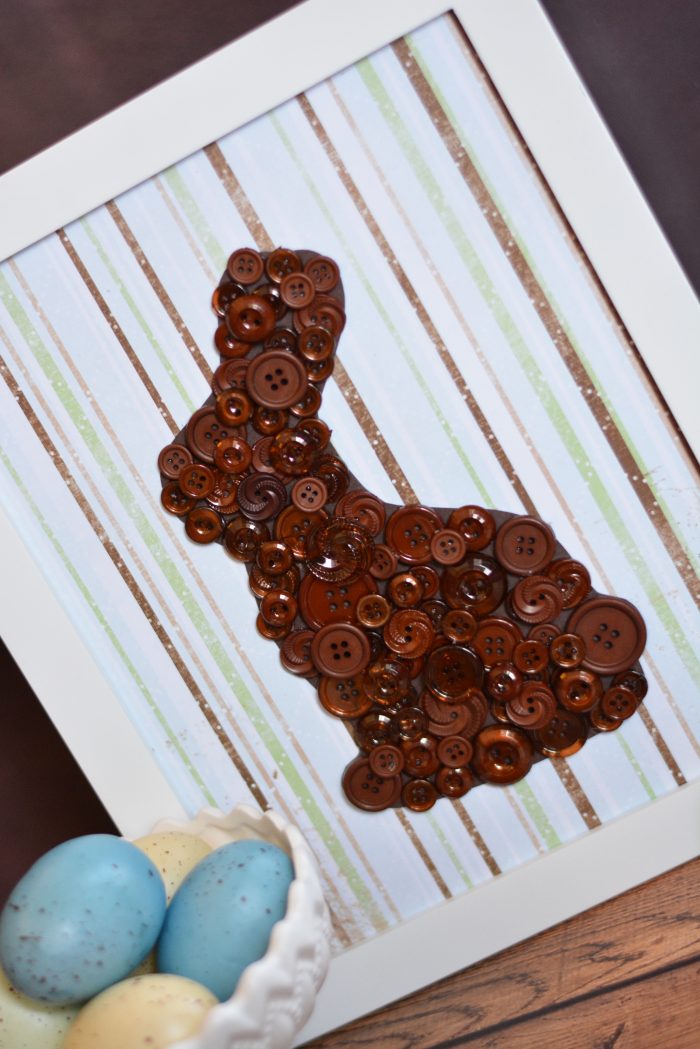
And to make your bunny picture you don’t need a whole lot of supplies and all are easily found.

- Brown Card Stock to match your buttons
- Brown buttons, you can find the buttons at Joann store.
- Printed Pattern Decorative Paper cut to 8″ x 10″ (background) I used scrapbook paper.
- Hot Glue
- 8″x10″ picture frame
- Old Toothbrush (optional)
- Scissors

Instructions:
Print the bunny pattern and cut it out. Place pattern on brown card stock and trace with a pencil. Cut out the brown bunny.
On a flat surface, begin to add brown buttons to the brown paper bunny. Start on the edges, extending buttons beyond the bunny outline. Continue filling the center of the bunny with buttons. Once one layer is complete, add another layer of buttons, and a third layer if desired.
Use an old dry toothbrush to remove the hot glue strings left behind.
Using hot glue, glue the brown bunny onto the 8×10 decorative paper.
Open frame and remove the glass. Place bunny into frame, then glass and close frame (bunny sits on top of the glass). Display and enjoy!


Thanks for sharing this great post. I’m very interested in this topics.