This is a sponsored conversation written by me on behalf of Cricut. The opinions and text are all mine.
Now that Disney is “Cruisin” again here are a few “Fish Extender” gift exchange ideas. If your not sure what a “Fish Extender” gift exchange is it’s along the lines of a secret Santa but with a Disney flair and on only seen on the cruise line. My previous cruse I had about 35 gifts to make and for various ages. One night is pirate night so for the kids aged 3-10ish I thought I would make these cute “Pirate Packs”! One item I am putting in the “pack” is this easy pirate eye patch and today I am sharing the super easy tutorial using my Cricut Air! Arrgggg! It’s a pirates life for me!!!
I received my Cricut Explore and I was so amazed at all the different materials it could cut! One thing I really love about all the new and amazing things about the Cricut is you no longer need to have cartridges to make your craft! I simply opened Cricut Design Space and searched for “pirate eye patch” I was given a few choices! I selected the one I liked the best then I began creating my cut pattern. I simply adjusted the size I wanted then I duplicated the design. Its pretty easy!
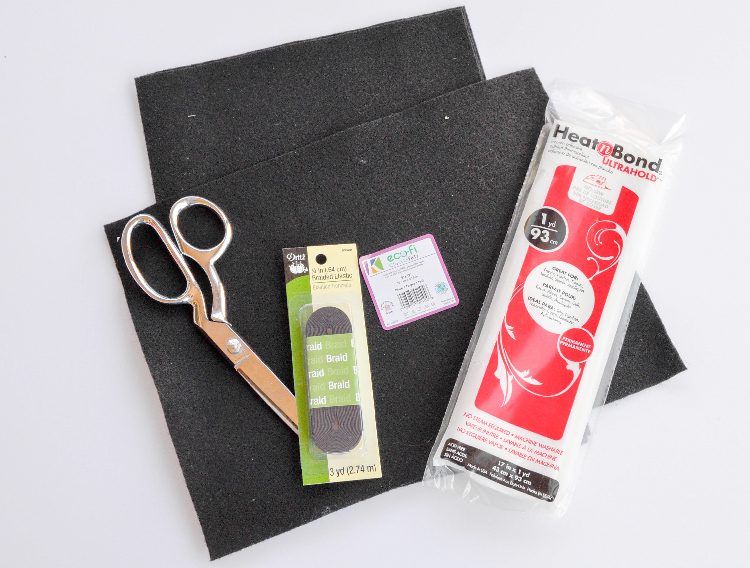
You will need:
- craft felt
- Heat-n-Bond
- elastic
- Cricut
- Cricut Deep Cutting Blade (Installed in your Cricut)
- eye patch graphic (Cricut Access)
- Iron
- scissors
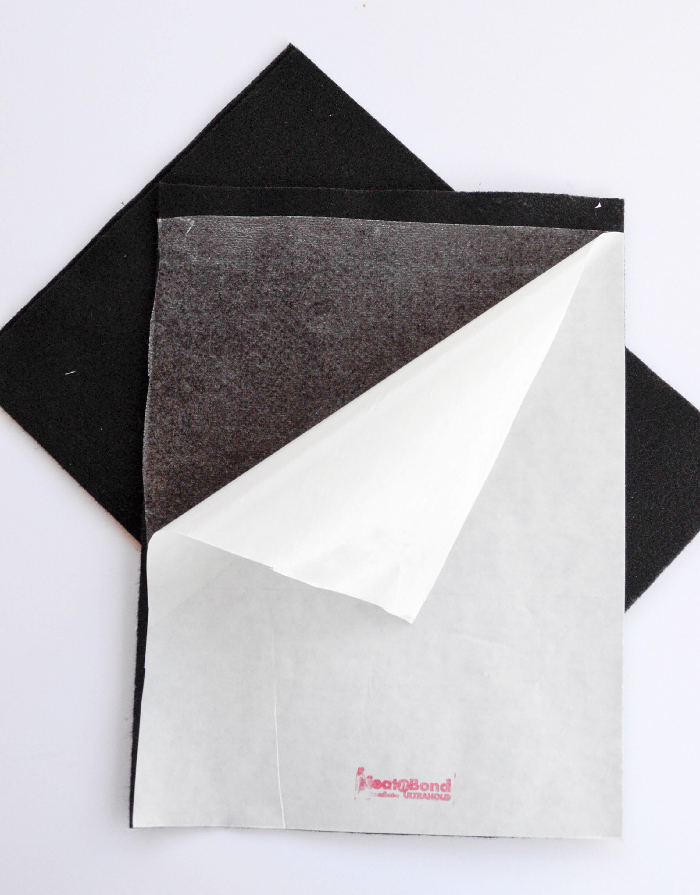
To start you will need to adhere the Heat-n-Bond to the back of the felt. Follow package directions.
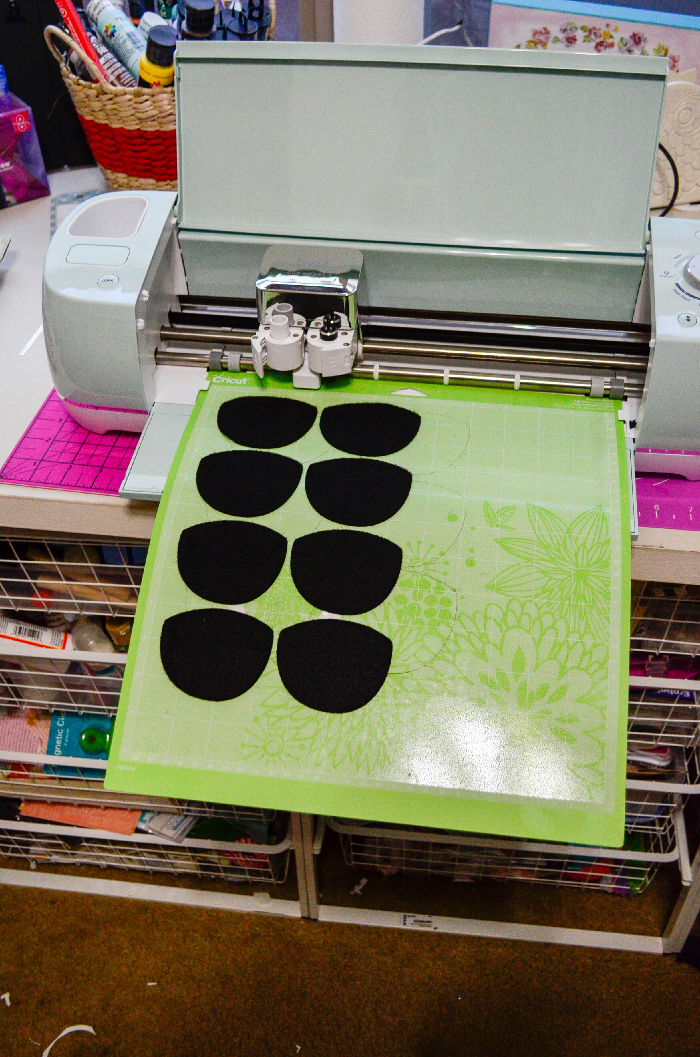
Place Heat-n-Bond side down on your Cricut mat.

Adjust your Cricut to felt to cut. Cut eye patches with Cricut,
Using spatula tool carefully remove felt eye patches from Cricut mat.
Place cut ends of elastic on top of Heat-n-Bond side of felt
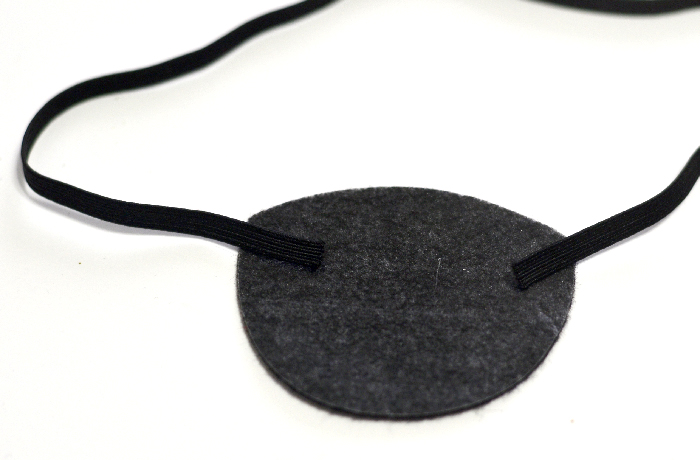
Top elastic and felt with another eye patch with Heat-n-Bond side facing down. Use iron to fuse both eye patch pieces together. Make sure the elastic is secure in the eye patch.

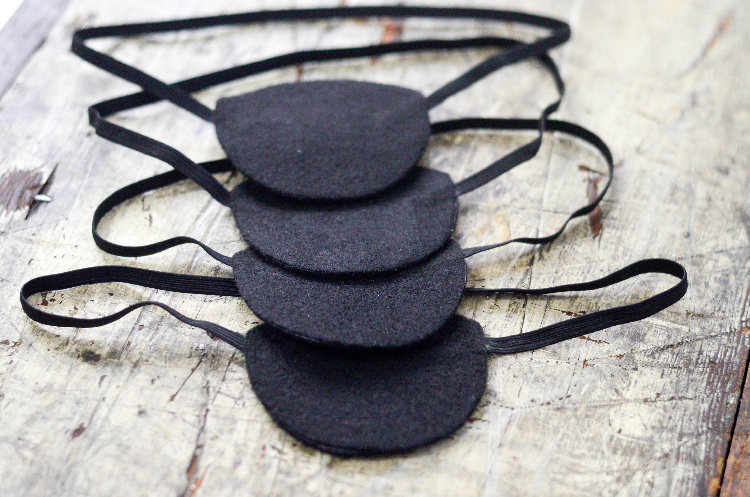
There you have it your pirate eye patch is ready to go!

I made about 5 of these for my “Pirate Packs”!
I think my little Pirates are going to be very happy with their “Pirate Packs”.

Looking for more Fish Extender gift ideas?? Visit these Disney Social Media Mom bloggers for more ideas:
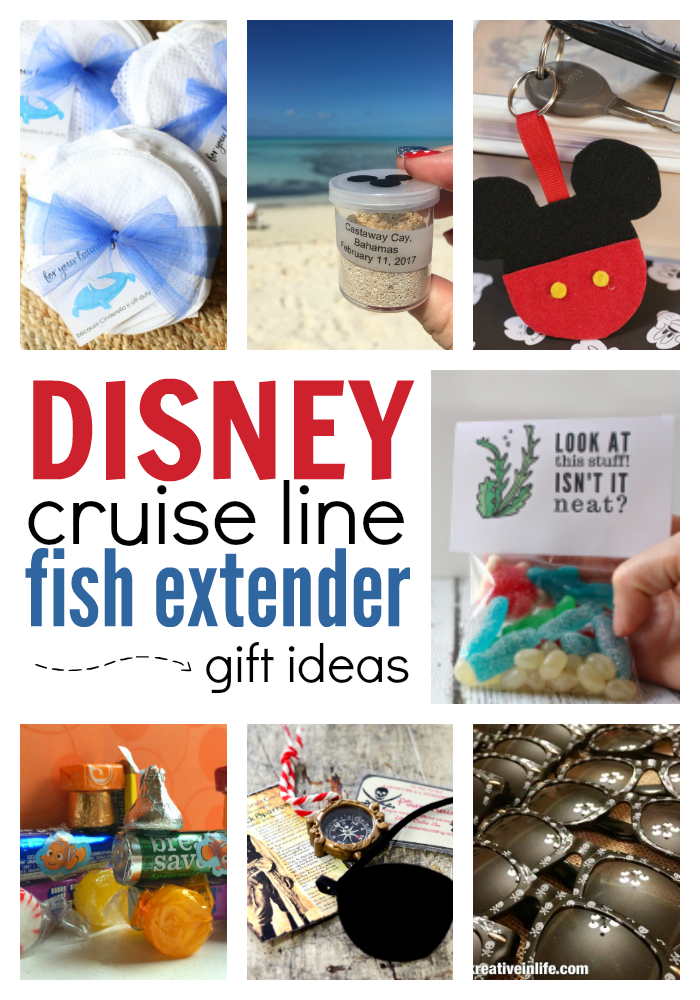
Gift Hamper from See Vanessa Craft
DIY Sand Collecting Kits from Around My Family Table
Mickey Key Chains from The Farm Girl Gabs
Under the Sea Candy from Whimsicle