I was browsing Pinterest and came across the cutest little portable/packable play stove! I just loved the idea!! Even though I don’t have a little one around I think this project is fantastic just to have around!! If I have little visitors I will have something for them to play with!! It is also fantastic to toss in your car for a trip to a friends house or just about anywhere. The container is not too big for those “little chefs” to pick up either they can carry it all around!!
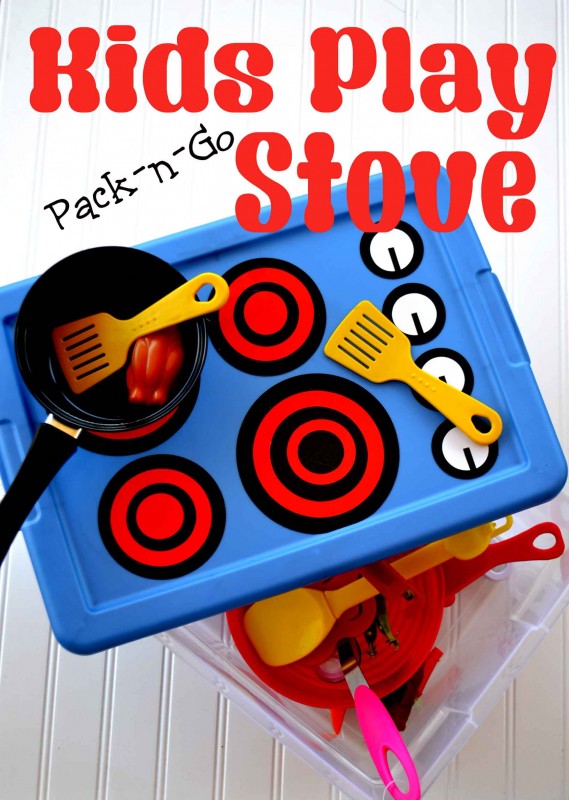
I think this craft is pretty self explanatory but I will give you the ins and outs of this little Play Set!! Are you ready to make a Pack-n-Go Kids Play Stove ?? This is a super easy DIY project!!
Instead of using paper for the “stove top” I used some awesome vinyl that the amazing Cricut team sent to me from Provo Craft!!! I also used Cricut Craft Room which I absolutely love love love!! I used the “George” cartridge as all I needed was the circle.
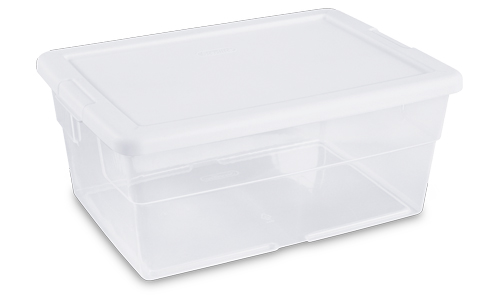
I first found a container that I liked and that I felt would work perfect for this little Pack-n-Go Stove! I used a 16qt Sterilite container which cost me only a few dollars!
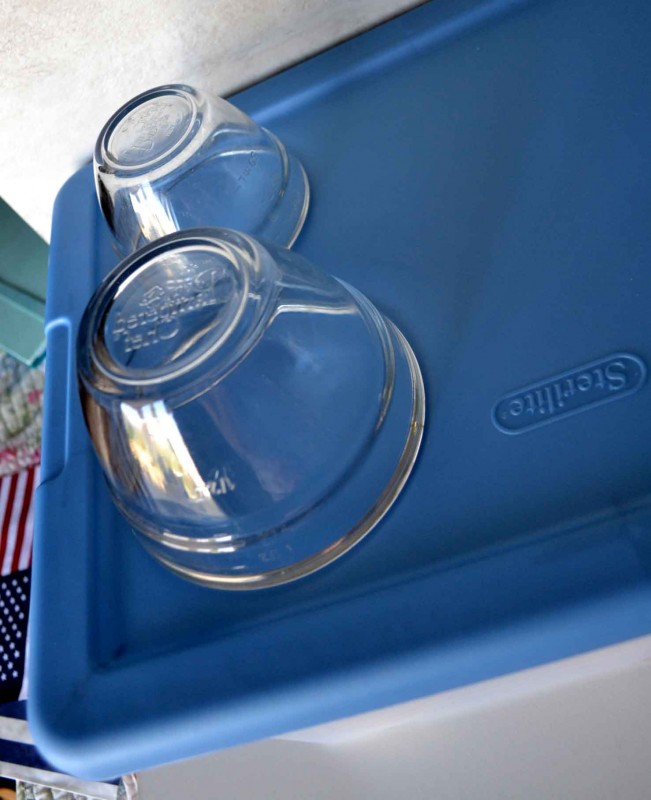
I wasn’t sure how to measure for the cook-tops so I used some of my glass bowls to see what would work! They measured 5″ for the large and 3.75″ for the small.
When working in Craft Room I took the 5″ and the 3.75″ and made the hot plates just kind of eyeballing it! Here are the measurements I used for the “hot coils” going from largest to smallest 3.9″x3.9″, 2.9″x2.9″, 2.05″x2.05″,1.38″x1.38″. If you get a different size container you may want to re size these to fit your container.
Each hot plate had 2 “hot coils” on each. I cut out 2- 5″ black circles, 2-3.75″ black circles and I only needed 2 complete orange circles which made up the “hot coils. The turn knobs were 2″ each and I cut 4- 2″ black circles and 4- 1.38″x1.38″ white circles. I free hand cut out the little black piece to make the knobs look more real they were about 1/8″ x 1” you will need 4.
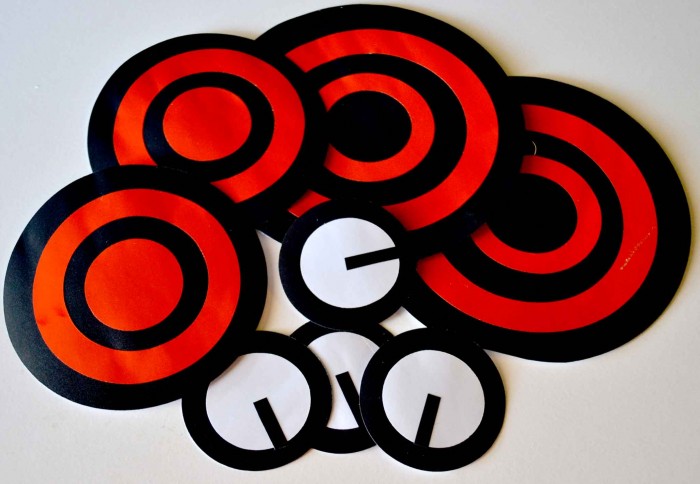
Ok that is all you will need to do with the Cricut!! Took me all of 10 mins to get these all cut out! Easy Peasy!! All that is left to do is adhere these to the top of the container and fill it with fun kitchen items!! I again kind of eyeballed it to know where to put the cut outs!
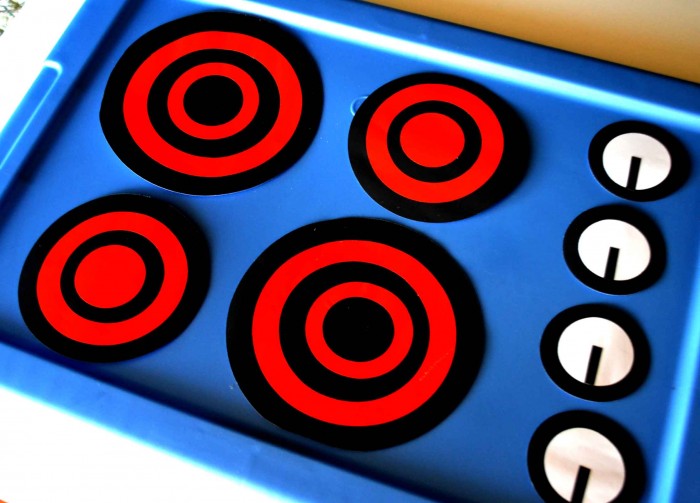
Pretty cute don’ch think??
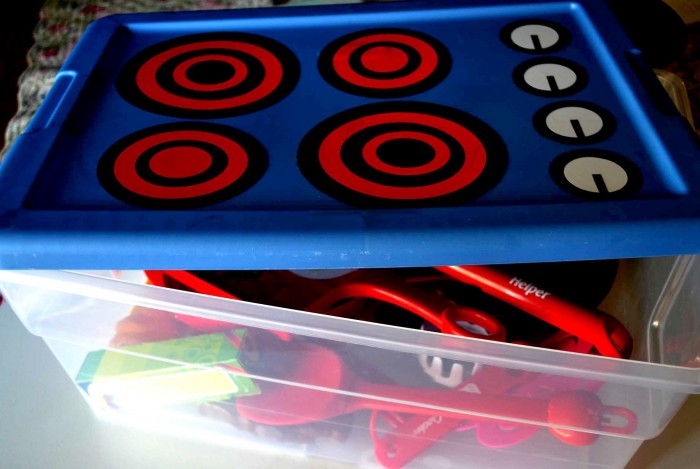
For the utensils and pots and pans I picked them up and my favorite $$$$ stores, the $ Spot at Target, and my own stash for the goodies!!
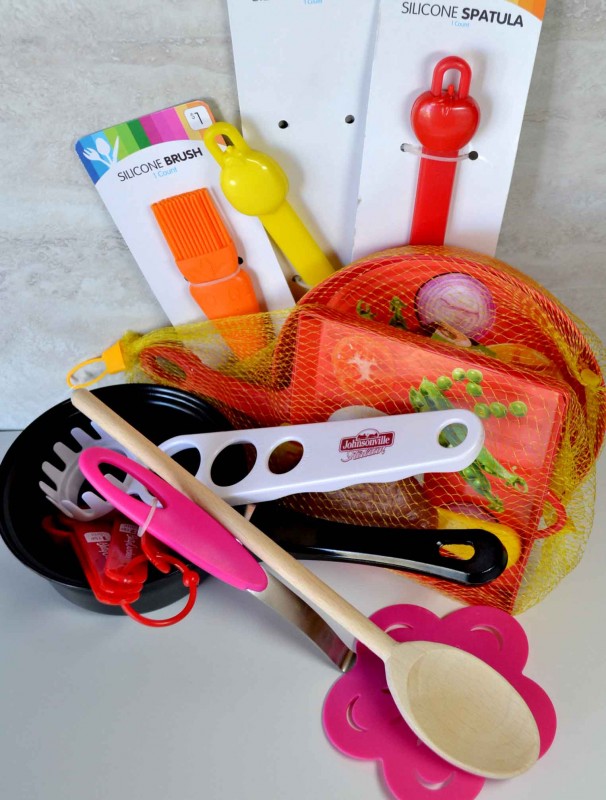
The total cost of this little project was just under $10.00, and could be less if you stock your Pack-n-Go Stove from you own kitchen! Your Little Chef wont mind where the utensils came from!
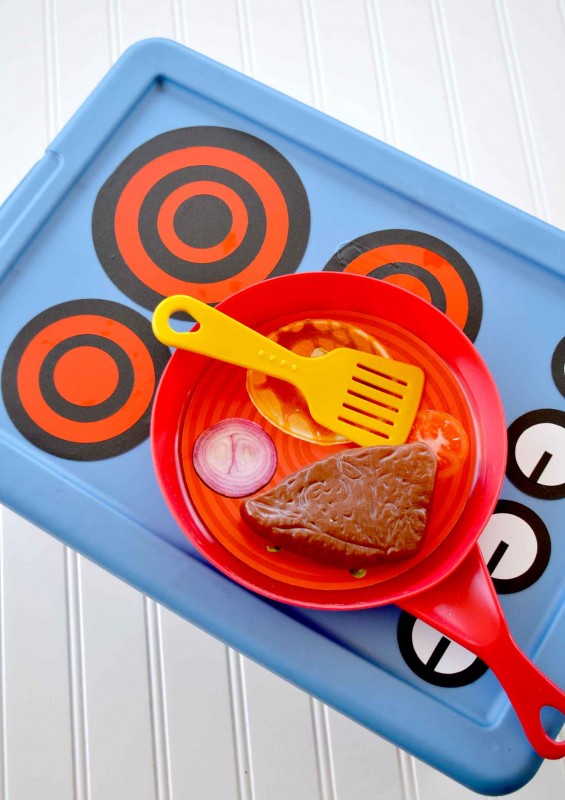
Now doesn’t that steak look yummy??? LOL!! Ok what would you put in your Pack-n-Go Stove for your favorite little Chef???


GENIUS!
I am a Registered Dietitian and use professional food models while providing education in my office. Needless to say, children go gaga for these! I am going to make one of these portable kitchens to keep the little ones busy in the office while the adults talk. I have a lot of empty food containers already (aka tools of the trade) and will raid my kitchen for some tools that the children can use to prepare the fake foods. I think a second box with an inset bowl would make a great sink, too.
This is just what I needed for a Headstart Early Learning Project to introduce a Healthy Eating theme that works perfectly with Math and Water Play units!
Very affordable to.make! Thank you!
Love this idea! I’m going to fill mine from my kitchen and some homemade felt food. Thanks for being so clever!!
I saw this and was inspired to make one for my little helper. My tupperware lady had a mini cake taker set on special so I added it and a pretty table cloth (clearance curtain) to the box for a travel kitchen/tea party box!
I am so glad you found this useful! Yours sounds adorable!!!