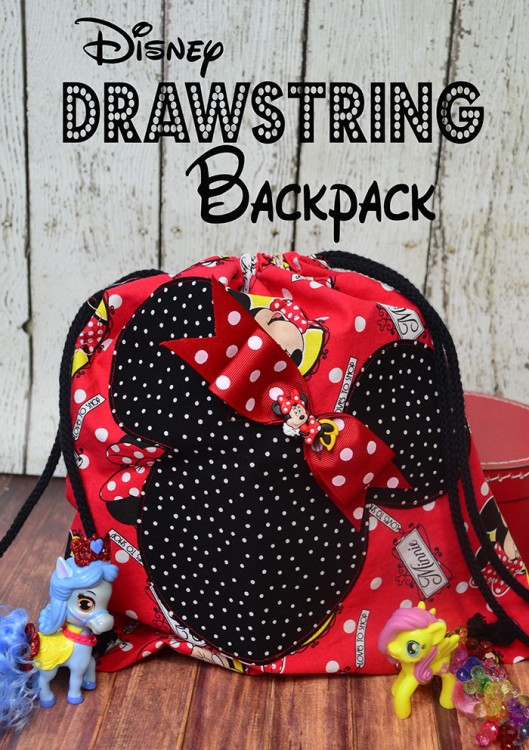
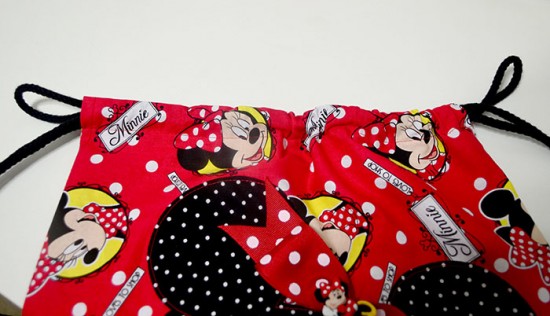
In just a few short days I will be heading to Walt Disney World for Disney Social Media Moms Celebration but what is even better is I will be spending Mother’s Day with my Daughter and Grand babies!! I have been busily crating, sewing and cooking Disney related goodies for you to enjoy while I am away! To kick things off I have a simple girls drawstring backpack! I made this for my grand daughter Rilee and I have been gathering small toys for her and filling the back pack!
Ready to get started? Lets gather our supplies
1 piece of heavy weight fabric of choice cut to 14″ X 32″
4 yards cotton cording
a 12″x 12″ square of coordinating fabric
a 12″x 12″ square of HeatNBond fabric fuse
1/2 yard 2″ wide coordinating ribbon
grommet and grommet kit
Sewing machine and coordinating thread
Scissors
Electronic cutting machine and fabric blade
Start by cutting out a piece of fabric, 14″ wide, x 32″ long.
It is easier to embellish the bag before sewing. Fold fabric in half wrong sides together, and choose one side to be the front of the bag. Set aside.
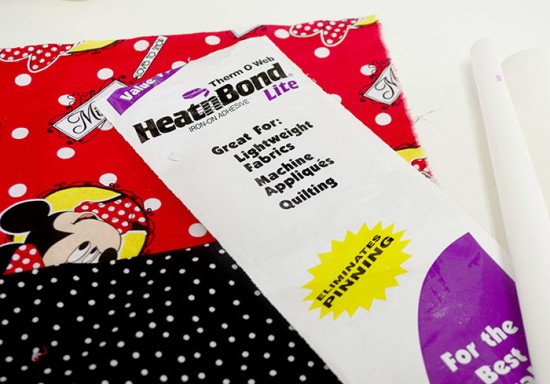
Following the instructions found on HeatNBond package adhere iron on adhesive to 12″ x 12″ square of coordinating fabric.
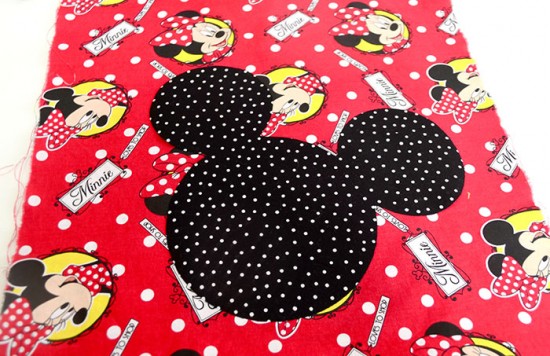
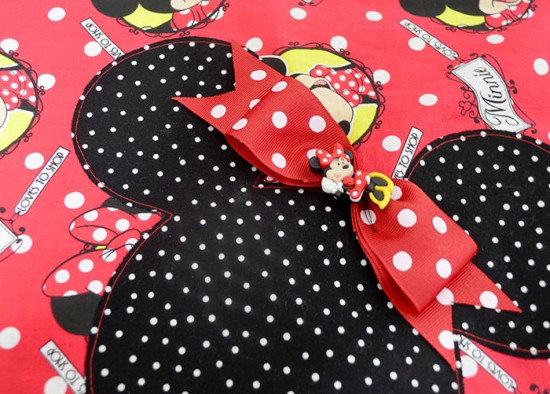
I used my Silhouette Cameo to cut out a Mickey Mouse head from the fused fabric. (You can do any shape for your bag and do not need an electronic cutting machine simply trace your design on the paper side of the fabric fuse and cut out with scissors)
With the bag face up place the embellishment in the center front of the bag and iron it to the bag
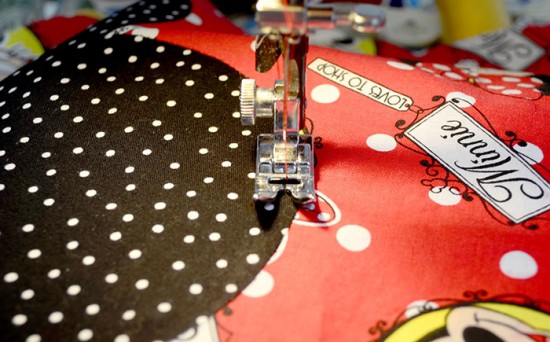
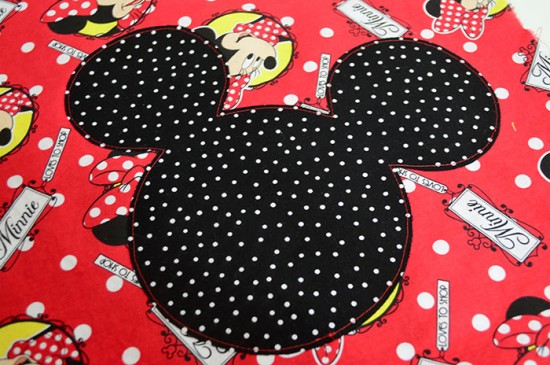
I just used a straight stitch and stitched about 1/8″ from the edge of the embellishment.
Now on to constructing the backpack.
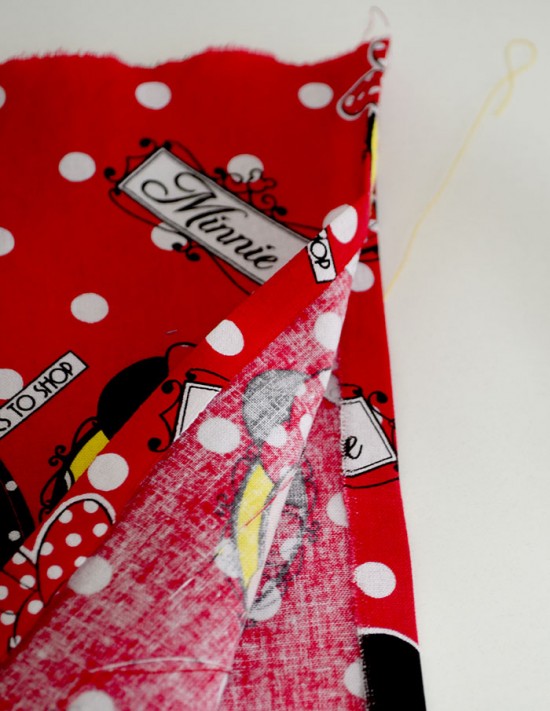
Take the short end of the fabric and turn each short end over 1/4″ and press.
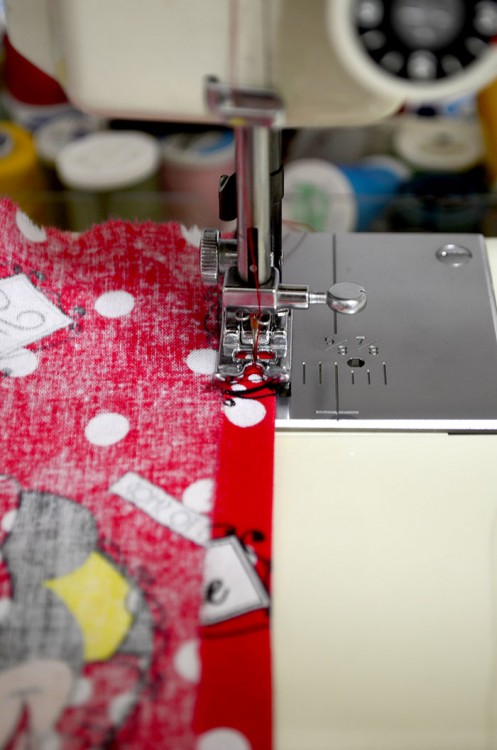
Stitch edge down
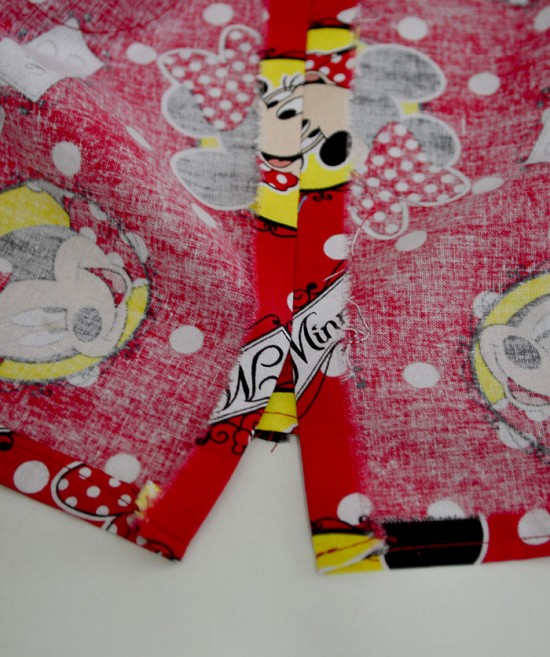
Fold fabric in half, with right sides together stitch sides together using a 1/2 inch seam allowance, stopping 1 1/2 inch from the top.
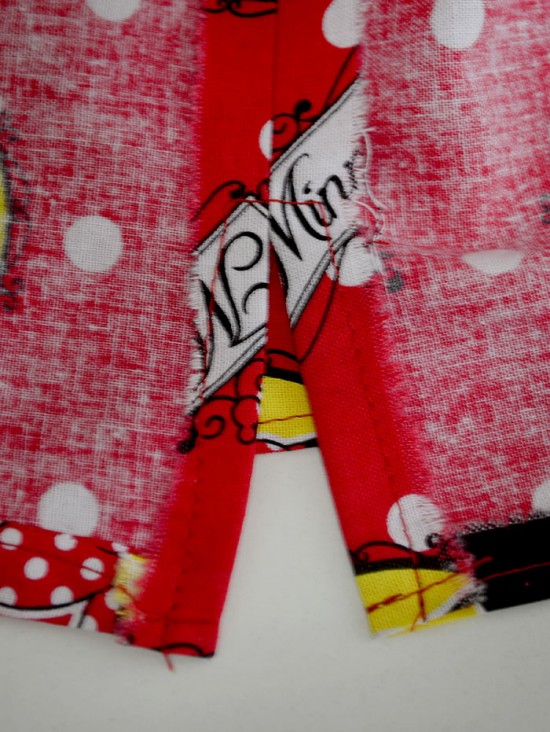
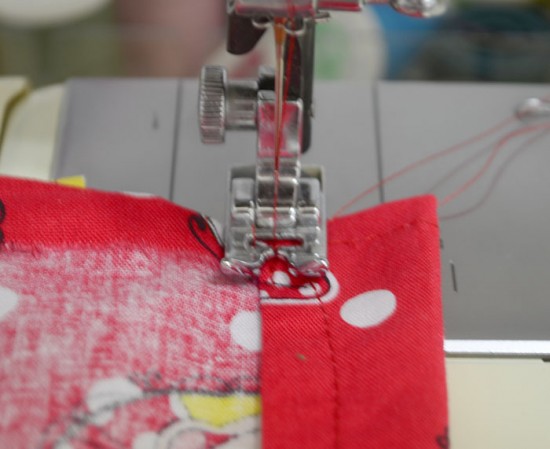
Press side seams open working on the wrong side. At the top of the bag, where the side seam is open, stitch around the opening on each side, close to the edge.
Fold top edge down 1 inch and stitch all the way around, close to the bottom edge. This is creating the casing to thread the cord through.
Cut two pieces of cord to 60 inches in length. Using a safety pin feed one piece through both top casings in opposite directions so cord feeds out of both ends of casing.
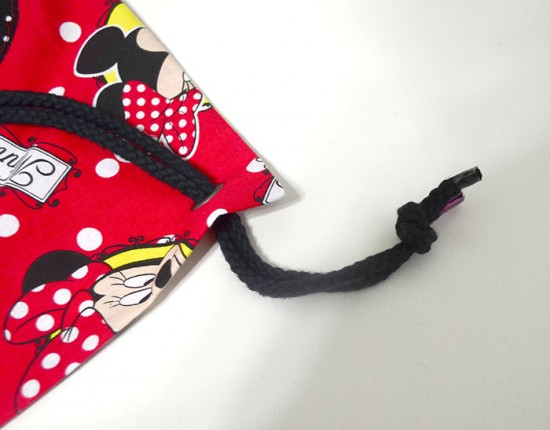
Following the grommet instructions punch a grommet in the bottom corners of the bag about one inch form each edge.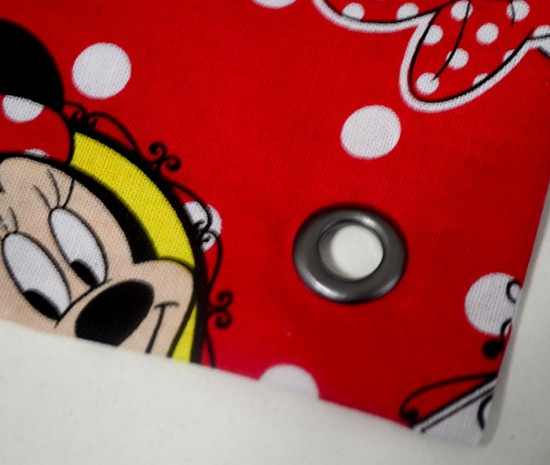
Thread ends of cord on each side through the corresponding eyelet. Knot cord to secure.
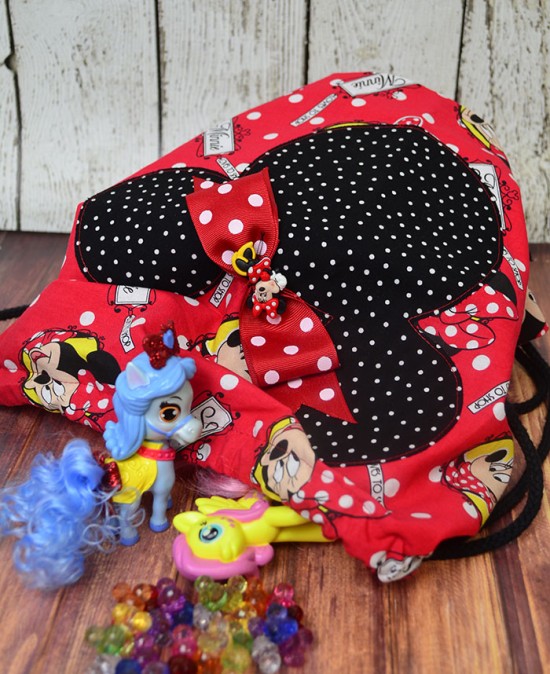
Take your coordinating ribbon and tie in a bow. With thread and needle sew to the top of the Mickey Mouse embellishment to make it Minnie Mouse! I added this cute Minnie Mouse button at the middle of the bow! So cute!
I think my little granddaughter will love this little bag and have fun pulling out all the goodies her Grammie has stuffed in it!!
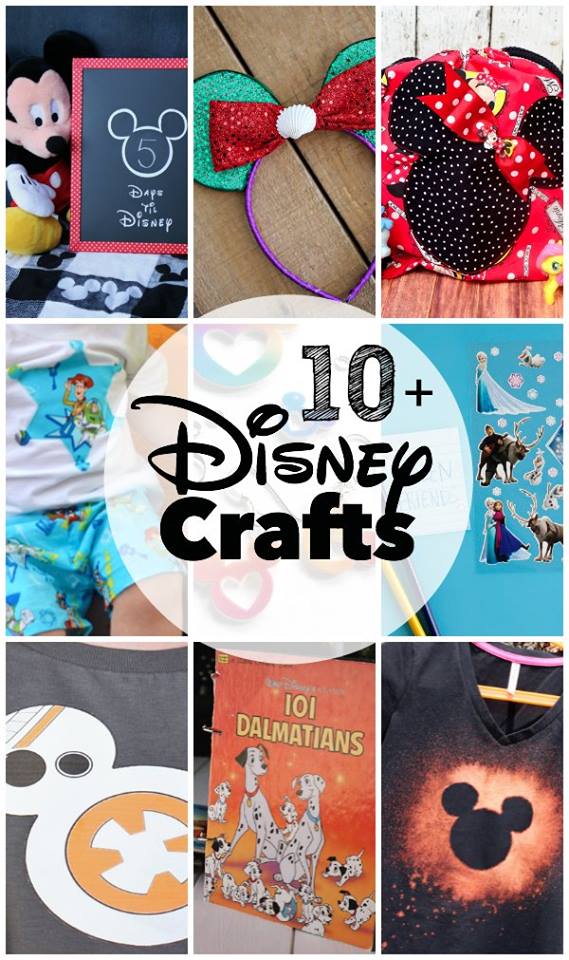
 I joined up with a few amazing bloggers to bring you more amazing Disney inspired crafts!
Disney Trip Countdown – DIY Washi Tape Chalkboard
Little Mermaid Ears
DIY BB-8 Shirt
DIY Disney Jewelry with Free Printable
Disney Sticker Story Starters
Disney Princess Duct Tape Hand Mirror
DIY Disney Autograph and Activity Book
Bleached-out Disney t-shirts
Which is your favorite Disney Side craft?

Comments