This is a sponsored conversation written by me on behalf of Cricut. The opinions and text are all mine. This post contains affiliate links, which may earn me a small commission.
We had the opportunity to visit Walt Disney World this past February and had great time! One thing I wanted to do is master iron on vinyl. So I decided to make Mr’ Pinkcakeplate a t-shirt with his favorite Disney character on it. His fav character is Goofy and his favorite color is green so I made this super cute Goofy T-shirt. Now there are a few tricks to working with iron on vinyl. I think this Disney Goofy T-Shirt turned out great and I think I have now passed iron on vinyl 101!

Now I don’t claim to be an expert on using Iron On Vinyl but I have learned a couple of things that any other newbie would appreciate knowing when working with Iron On Vinyl! As I go along in the tutorial I will share with you some easy tips and tricks that I have learned along the way. Trust me once you figure out the little tricks with Iron On vinyl you will be ready to make a million things with Iron On Vinyl!
First you want to gather your supplies.
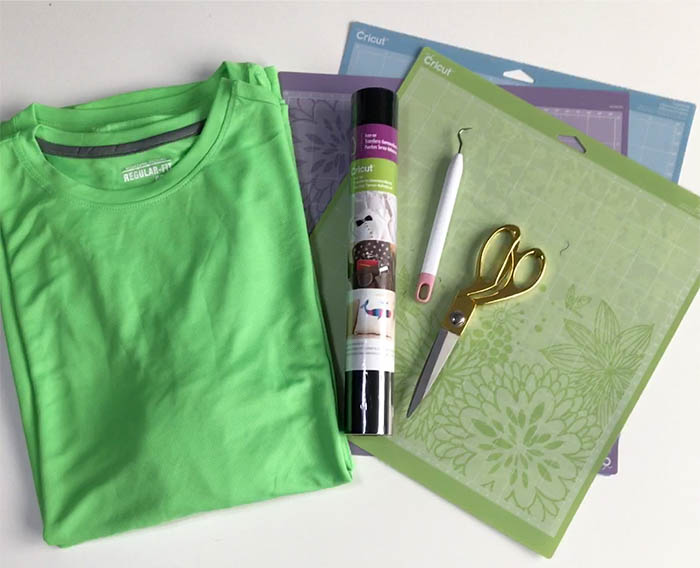
- Cricut Iron On Vinyl in black
- scissors
- weeding tool
- Cricut Explore Air and cutting mat
- Cricut Design Space
- Goofy cut file (from Cricut store)
- Shirt
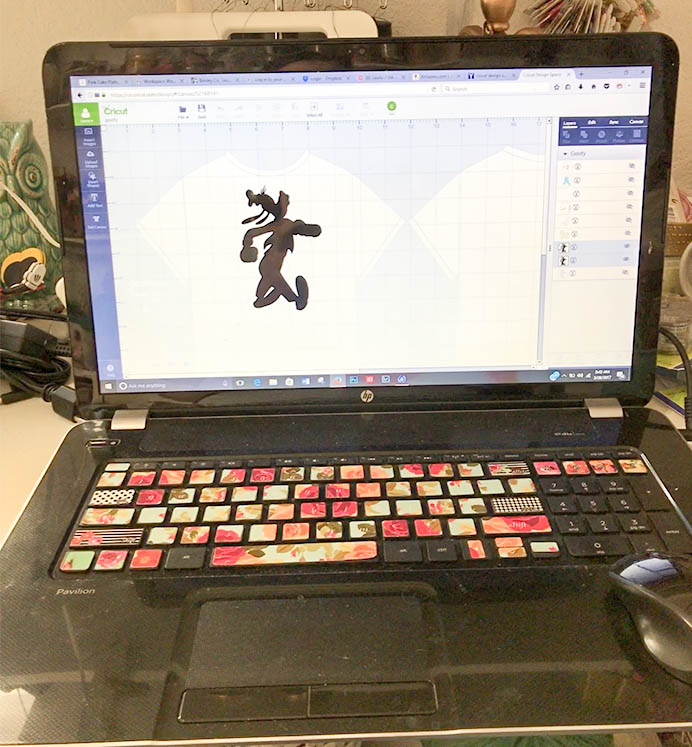
First you want to design your t-shirt. Using Cricut Design Space I created my design. I just wanted the silhouette of Goofy so I had to “turn off” some of the cut lines.Mr. Pinkcakeplate is not on the small side so I made Goofy about 10 inches tall and 6 inches wide.
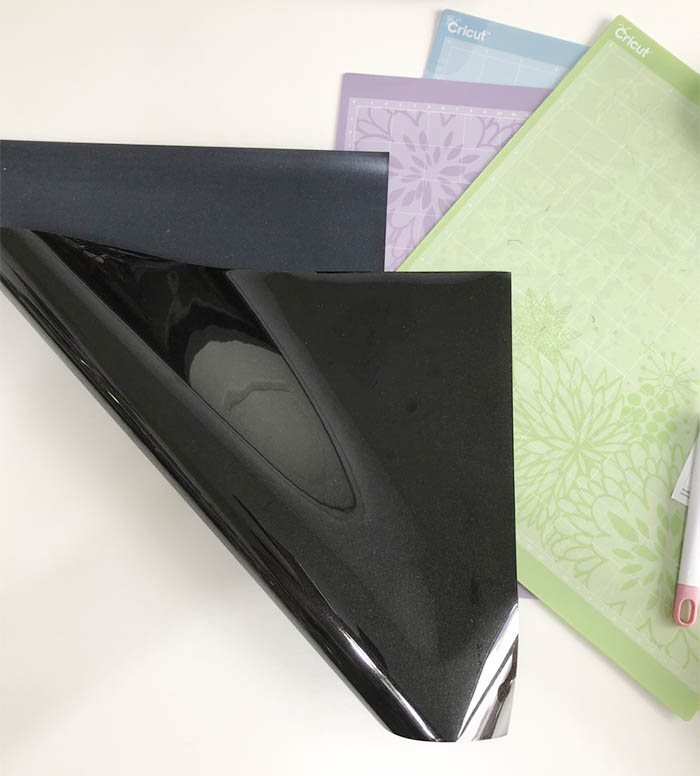
Tip #1. So there is a trick to using iron on vinyl there are two sides, a dull side and a shiny side. You want to make sure to put the shiny side down on the cutting mat. I learned this the hard way so take it from me shiny side down always!
Once you have your design created in Design Space its time to cut. I set the dial on my Cricut Explore to the “Vinyl” cut setting. Tip #2. use the directions on the vinyl it has pretty much all the information you need to cut vinyl successfully. If you look close you can see my instructions on the right. These are a life saver for a first time cutting vinyl.
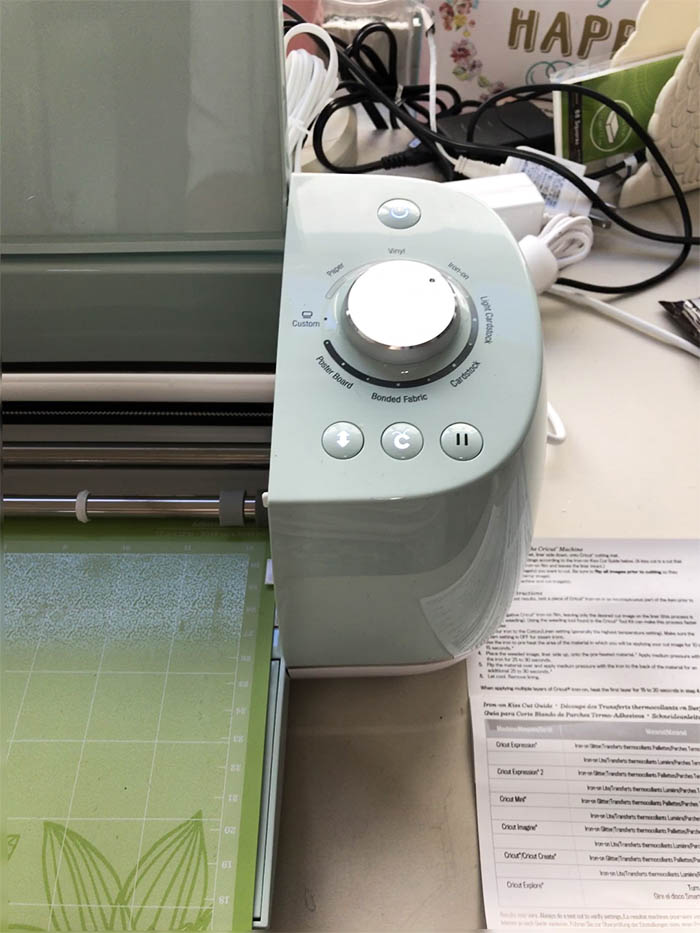
Once your design is set and you have placed your vinyl on the mat its time to cut.
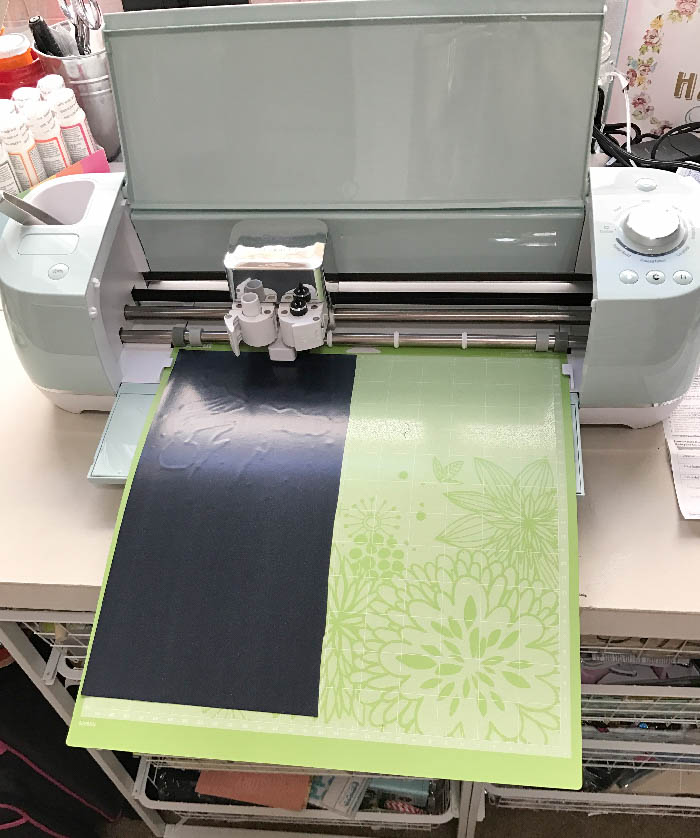
I love the Cricut Explore Air it is so quiet and easy to use. It took just a few seconds to cut my design.
Tip #3. To get the little pieces of vinyl out of your design use a weeding tool. This saves time and your sanity.
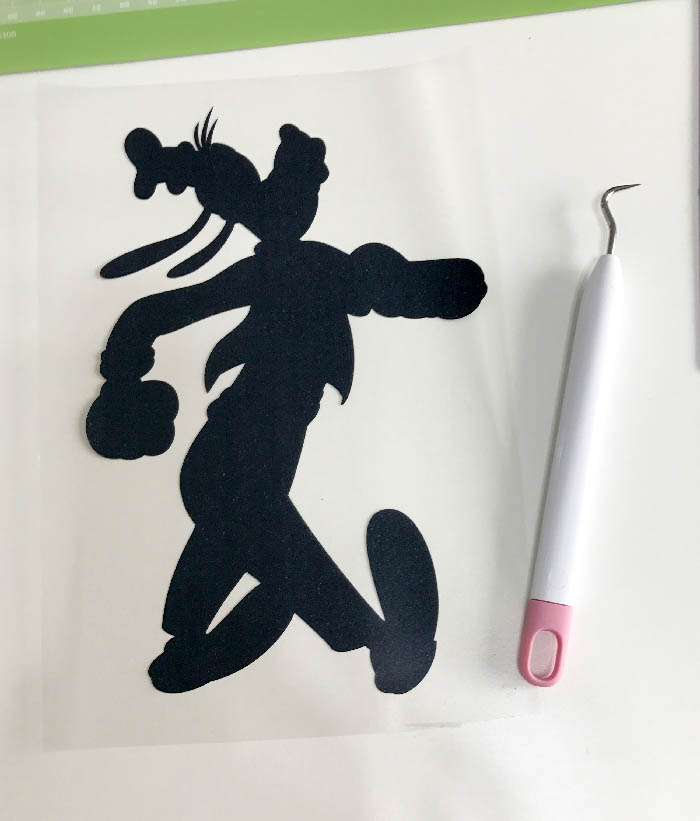
Once you have weeded your design your ready to place it on you shirt. Tip #4 the shiny material will be tacky, don’t let this alarm you. The tacky side is the side you will place directly on you shirt and it helps to keep the design in place when you iron.
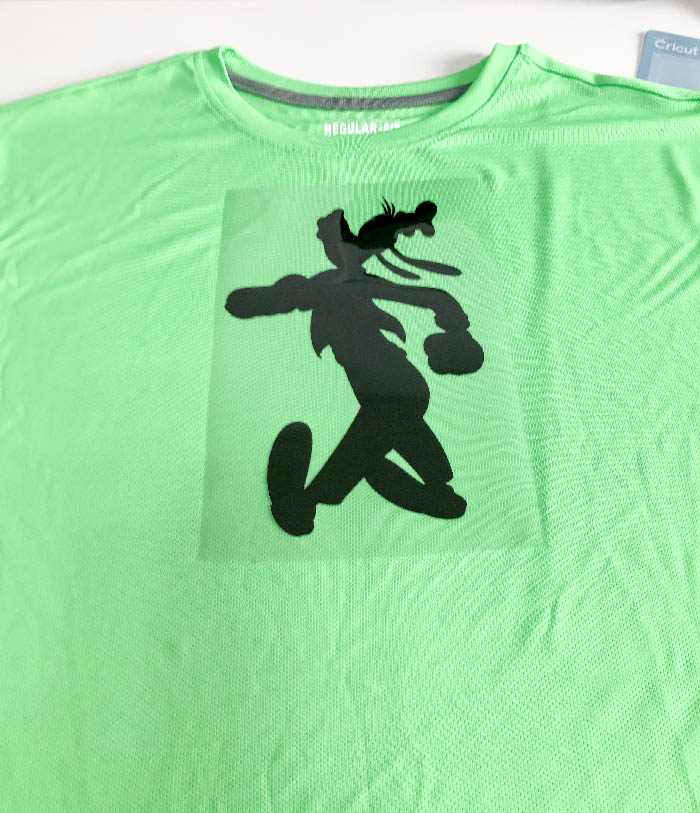
Follow the directions on the vinyl package to adhere the cut out to your shirt. Now its time to iron on the vinyl. Tip #5 let the shirt cool completely before removing the shiny material. Test the edges to make sure the vinyl is securely adhered to the shirt gently lift the shiny material around the edges of the design to check for any lifting. Be careful not to remove the shiny material if here are any edges that lift, if this is the case you will need to iron again.
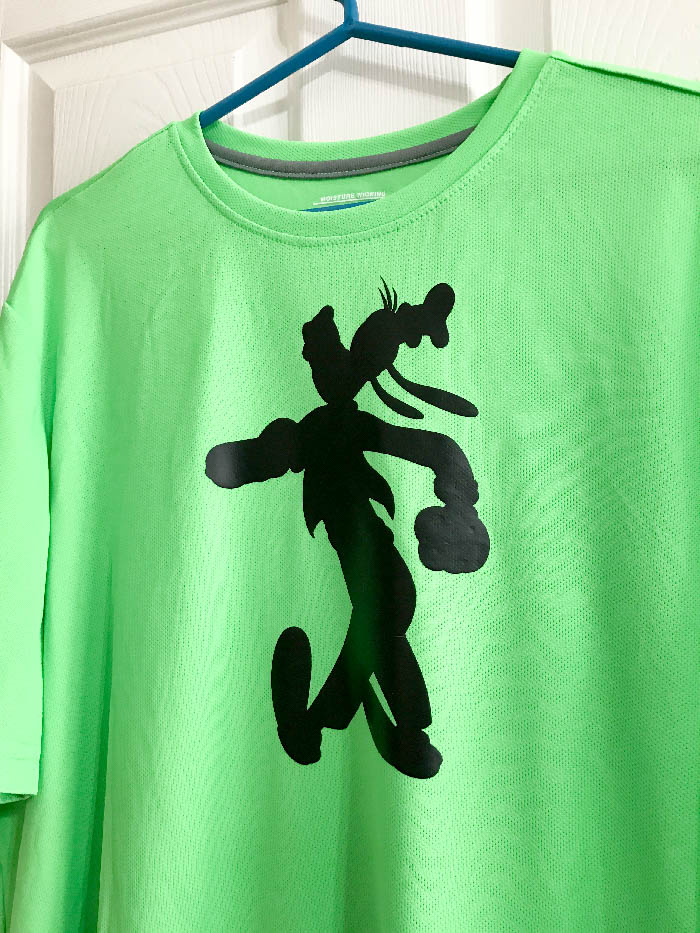
Mr.Pinkcakeplate pretty much loves his new Disney Goofy shirt! How fun is this? He kinda thinks hes’ Goofy and does a pretty good impression!

This is a sponsored conversation written by me on behalf of Cricut. The opinions and text are all mine.


Making a graphic t-shirt seems like a really difficult process. I liked that you showed how you measure out the design can make a huge difference. http://www.katytshirts.com/