I love to sew and just upgraded my serger. If you don’t know what a serger is its a sewing machine that cuts and binds the sewn edge of the fabric your sewing. If you look inside your store bought clothing you will see a pretty finished seam that’s what a serger does. Sewing with a serger is amazing. You don’t have to have a serger to sew, its kind of like having a souped up Kitchen Aid mixer and a regular Kitchen Aid mixer. I love using my serger on knit fabric. Now another thing happening in my life right now is I have a good friend that is having baby number three. Since I have this amazing serger I decided to make those really fun Easy DIY Knit Infant Car Seat Cover as baby gift.
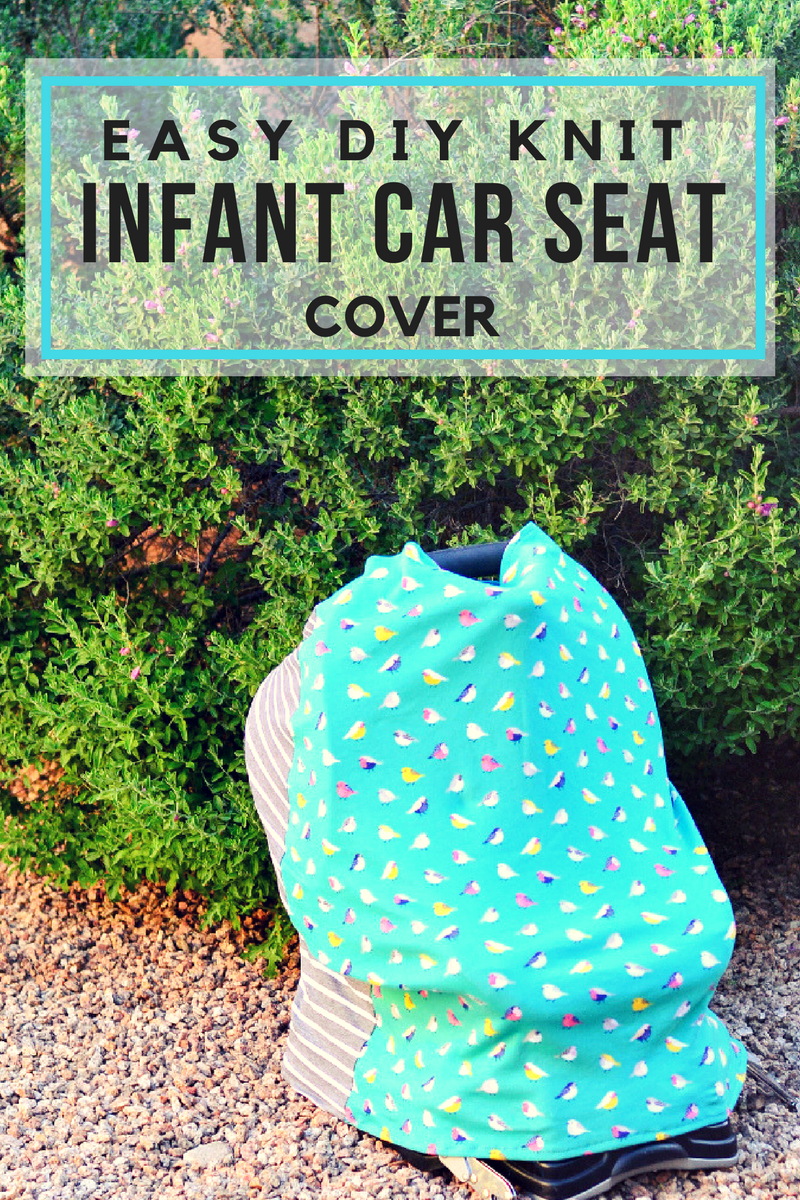
I came across several tutorials to make these Knit Infant Car Seat Cover. Two in particular were very similar so I wanted to make them both to see how the finished project differed or if there was even any difference in how the finished product looked or performed.
The first tutorial I found was from See Kate Sew. She even offers a pattern download with her tutorial. I found the pattern takes a tiny bit of time to put together, but overall its not too complicated. After printing out the pattern you simply tape the pages together to get your completed pattern. Then the pattern is ready to cut out your car seat cover fabric.

I found her instructions to be easily understandable and over all easy to make the cover. It only took me about an hour to make Kate’s Easy DIY Knit Infant Car Seat Cover This was a really good tutorial and I would recommend it for any level seamstress.
The second tutorial I found online was one at I Married Superman. Bethany has a little bit different way to make your Easy DIY Knit Infant Car Seat Cover She doesn’t use a pattern but has measurements and a diagram how to cut your fabric.
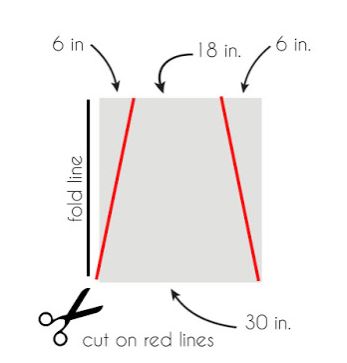
This made me think a little more and I had to go find a yardstick. But not too much work either.
After cutting both covers out I followed the instructions and sewed up both covers. They sewed up pretty much the same, so not really much to compare. Lets take a look at the finished products. I used the same car seat in each photo.
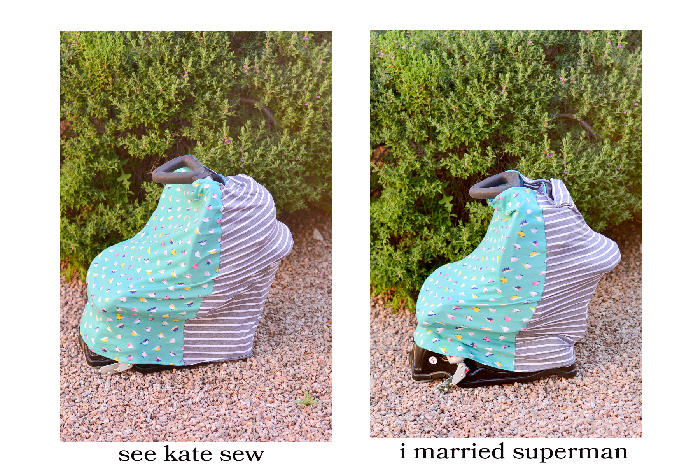
First up is Kate’s cover. I have to say I liked the way this one looked on the car seat better. But honestly there is not much difference.
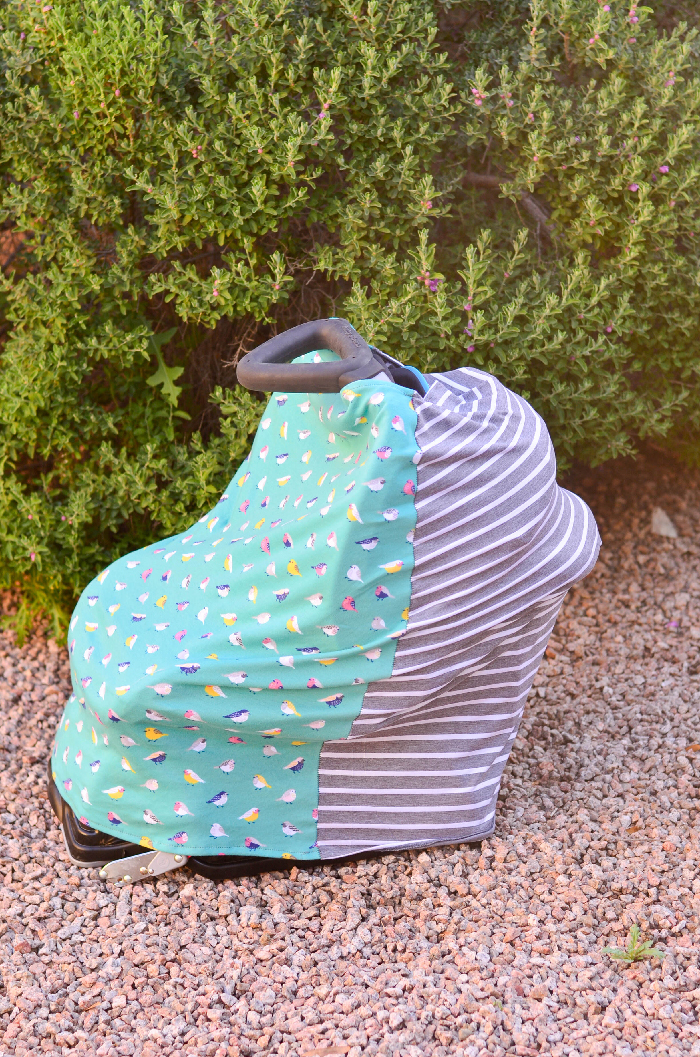
Here is Bethany’s cover. In my opinion I think the measurements may need to be just a tad bigger this cover looked just a little tight on the car seat.
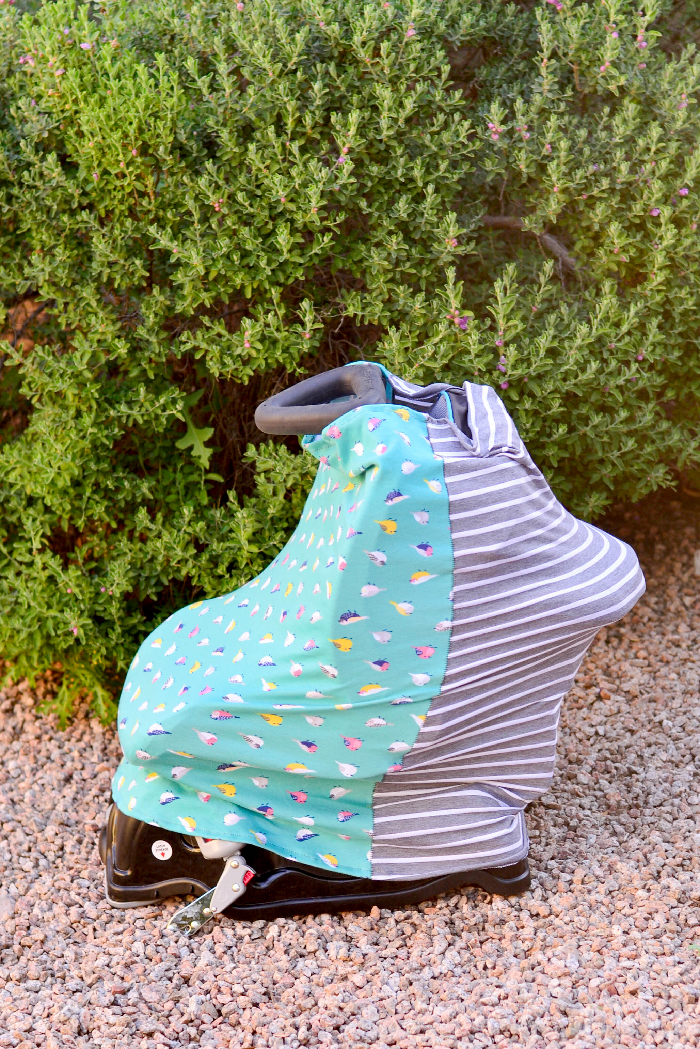
All in all they both are equally easy to sew and perform the same and to the unscrutinizing eye they look the same. My preference is the Kate car seat cover and I will be making more. It boils down to I really liked having a pattern to use when cutting my fabric and I think the curved upper portion of the cover conformed to the car seat just a bit better.
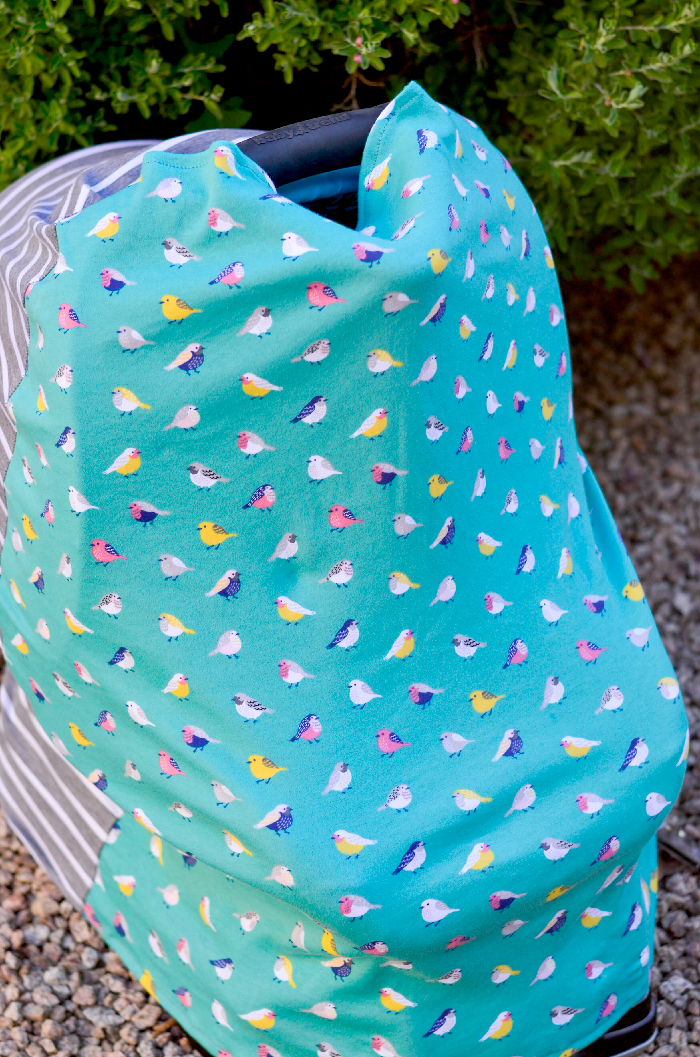
Keep in mind, don’t need a serger to sew either of these covers. The great thing about working with knit fabric is it does not fray so a regular sewing machine will work just fine!
I commend both gals for taking the time to create and share their patterns. Both are amazing bloggers and I love what they do! So thank you to both of them for these tutorials!

Wonderful post and very thorough tutorials. With the instruction so clear and concise any unprofessional sewer can make it.
Yes these tutorials are very simple and great for the beginning seamstress!! Good Luck!
Informative and useful blog with detailed instructions. Thank you for sharing it.
Hi Laura, I love this blog post as I find my car seats very unsightly around the house and this is a great way to have a perfectly fitted cover for them! Giving them away as presents is a great idea too, I am going to get cracking on this project straight away! Thanks very much, Marianne.
I am so glad you like this post. I loved making the car seat covers and the new mamas loved them!!!