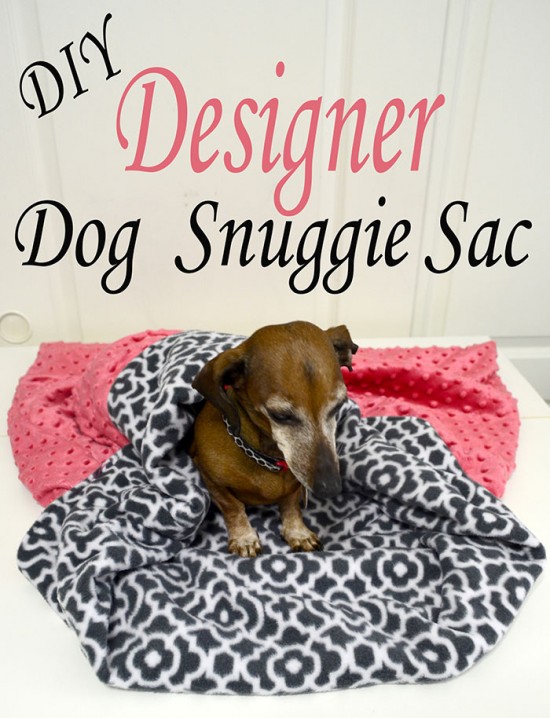
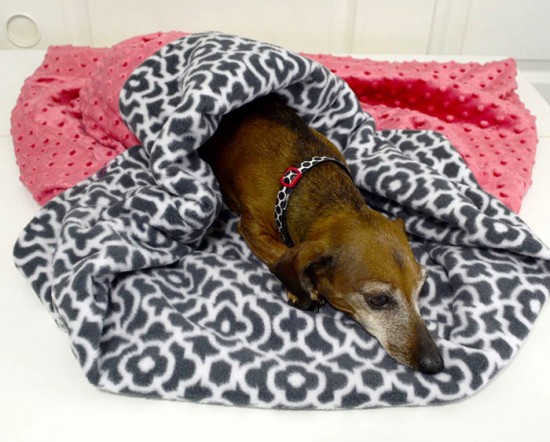
I came across the cutest little dog sleeping bag but just about choked on the price! Then I started looking for more dog sleeping bags! I have 2 little dachshunds and they love to burrow and I have a living room with blankets all over. When I came across these adorable dog sleeping bags I knew I had to make some for my little dogs! Today I have a simple tutorial for Designer Dog Snuggie Sac!
Look at the price of this bag! I know mine isn’t made of faux fur but my goodness I don’t know a dog that needs a snuggie sac that costs that much! 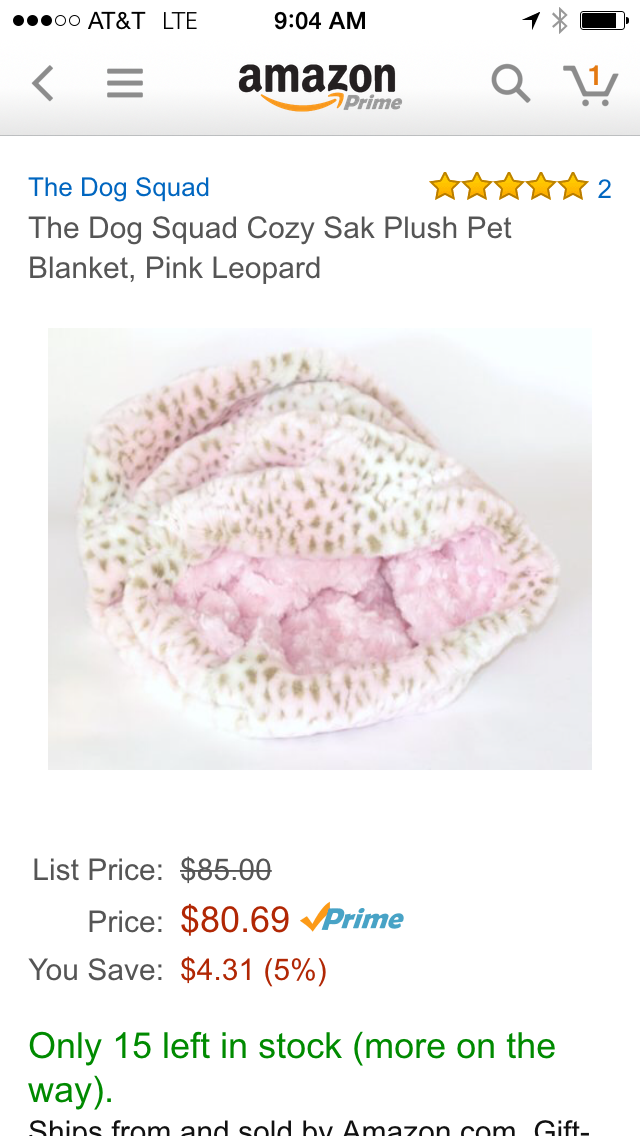
So for a little over $10 dollars and less than an hour later I had a cute snuggie sac for my dog!
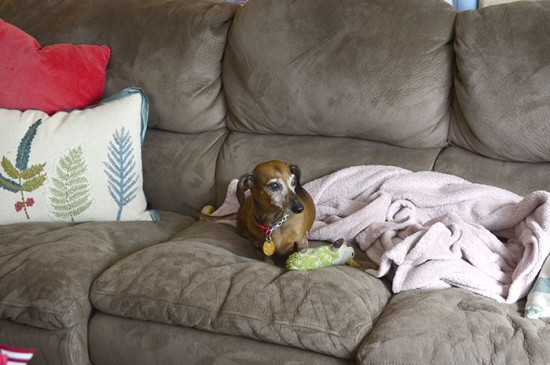
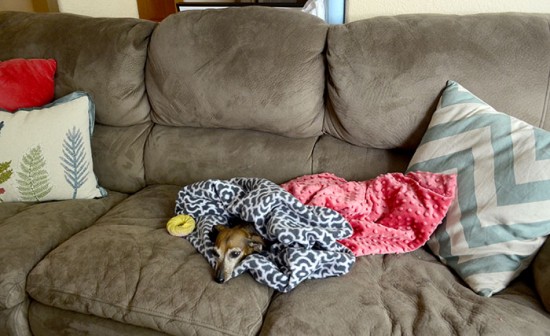
I love that I can choose the fabrics to match my decor that way these will look like they are part of the furniture instead of ugly blankets strewn on the couch! Here is a before picture! Looks really sloppy and just messy to me!
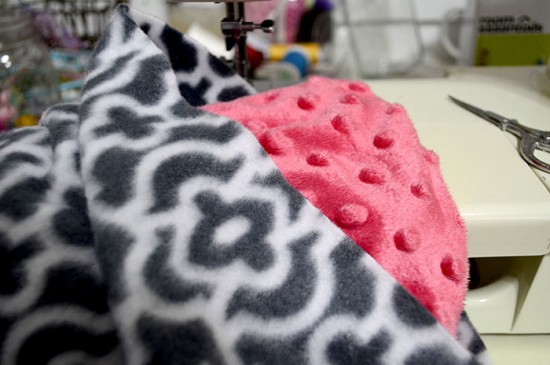
I first took a look at my couch and decided what color I wanted to incorporate with the Dog Snuggie Sac. I chose this really pretty coral dot minky fabric for the outside and a grey and white fleece for the inside! I love working with fleece because it doesn’t fray!!
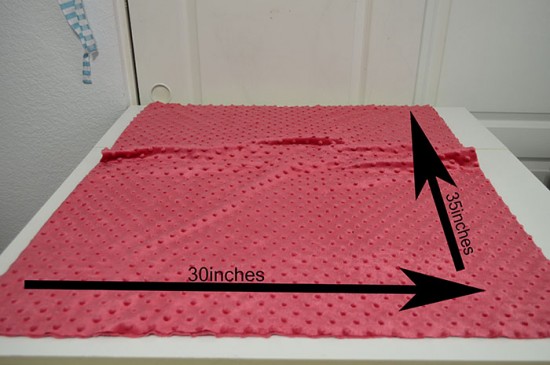
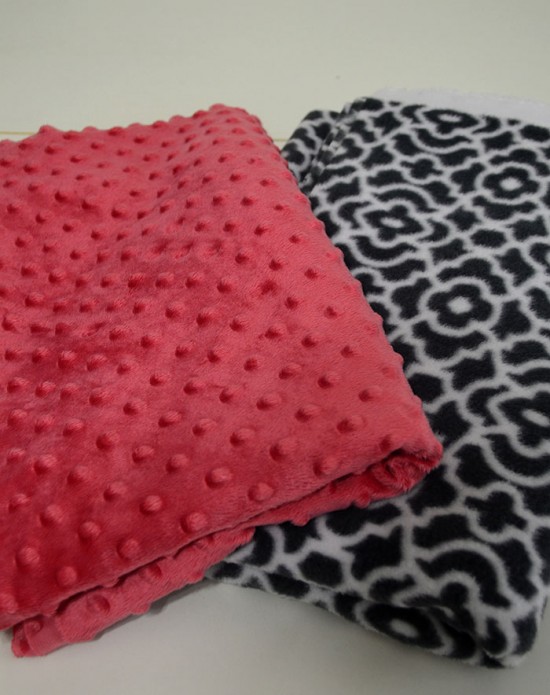 I then cut the fabric to the same size. Basically you will have two pieces of fabric that are the same size and will be sewing two sides and the top and bottom. I folded the fabric with the selvedge edges together which is on the right of my photo and the fold is on the left. My measurements were 30 inches across by 35 inches down. Remember the fabric has a fold on one side so the 30 inch measurement is double.
 With the right sides together using 1/2″ seam allowances sew down the side of the lining fabric leaving a 6″ opening at the fold side of the fabric.
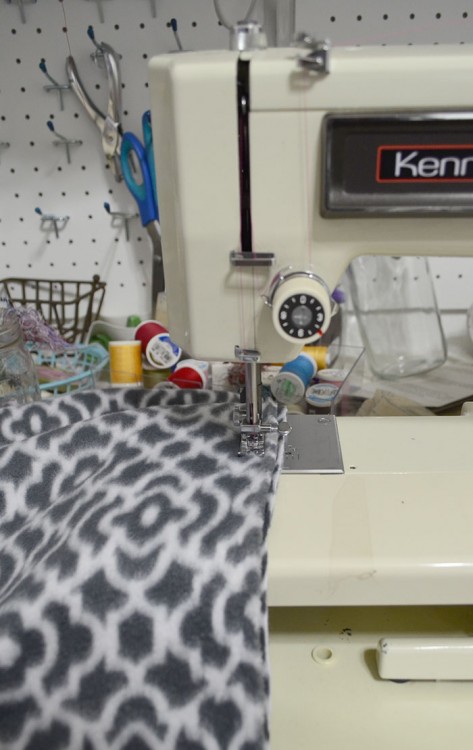 With the right sides of the the outer fabric sewing with a 1/2 inch seam allowance sew down the side and all the way of the bottom of fabric.
With right sides together sew the open edge of sac. Seam allowance is still 1/2 inch.
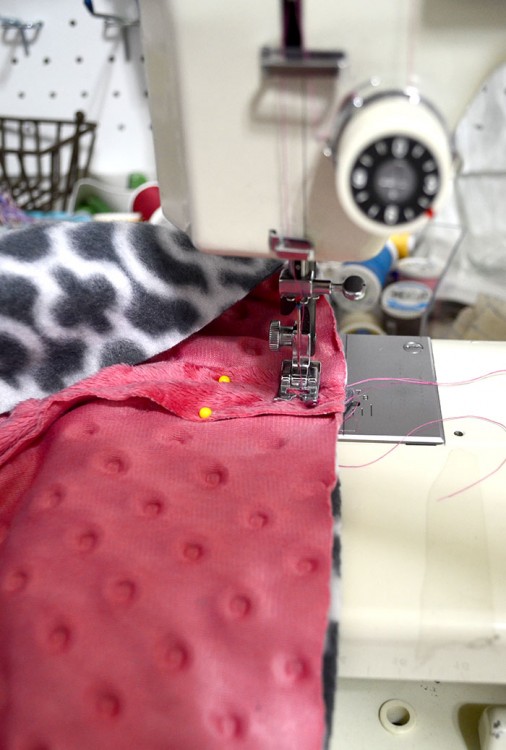 Find the open end in the lining fabric and pull the outer fabric through the opening.
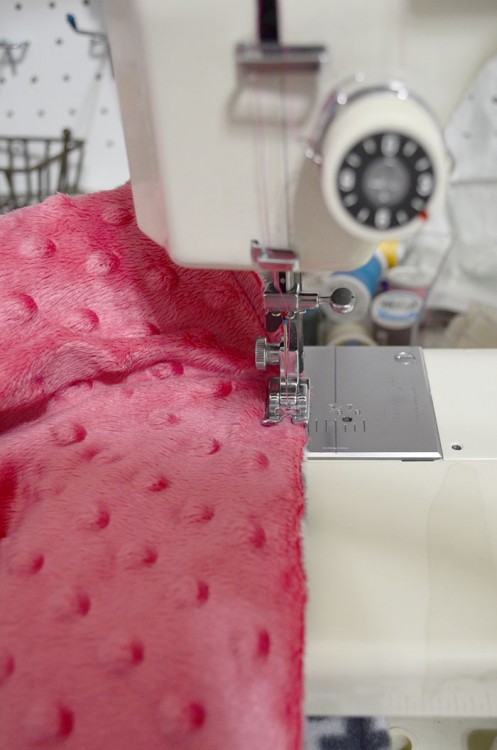
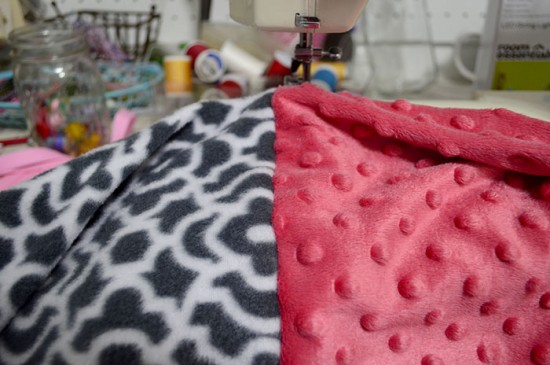 Take the lining fabric and tuck it inside the outer fabric, smooth it out. I stitched a 1/4 inch top stitch around the edge of the sac.
 The really nice thing about this is it is for my dogs and they don’t care if it is perfect or not!!!

Laura, I can tell your babies are spoiled. What a great idea for a sewing project! Come join the party! I would love to see this posted this on Snickerdoodle Sunday!
Maria@SewTravelInspired recently posted..Snickerdoodle Sunday Linky Party #90
what a sweet little fur baby!! and an awesome snuggly for any pup! I will have to make one of these for my little chug! Thanks for sharing the how to with us at Snickerdoodle Sunday!
This is so adorable- I’m dying over it!
Rachel @ {i love} my disorganized life recently posted..Easy Chicken Salad Recipe